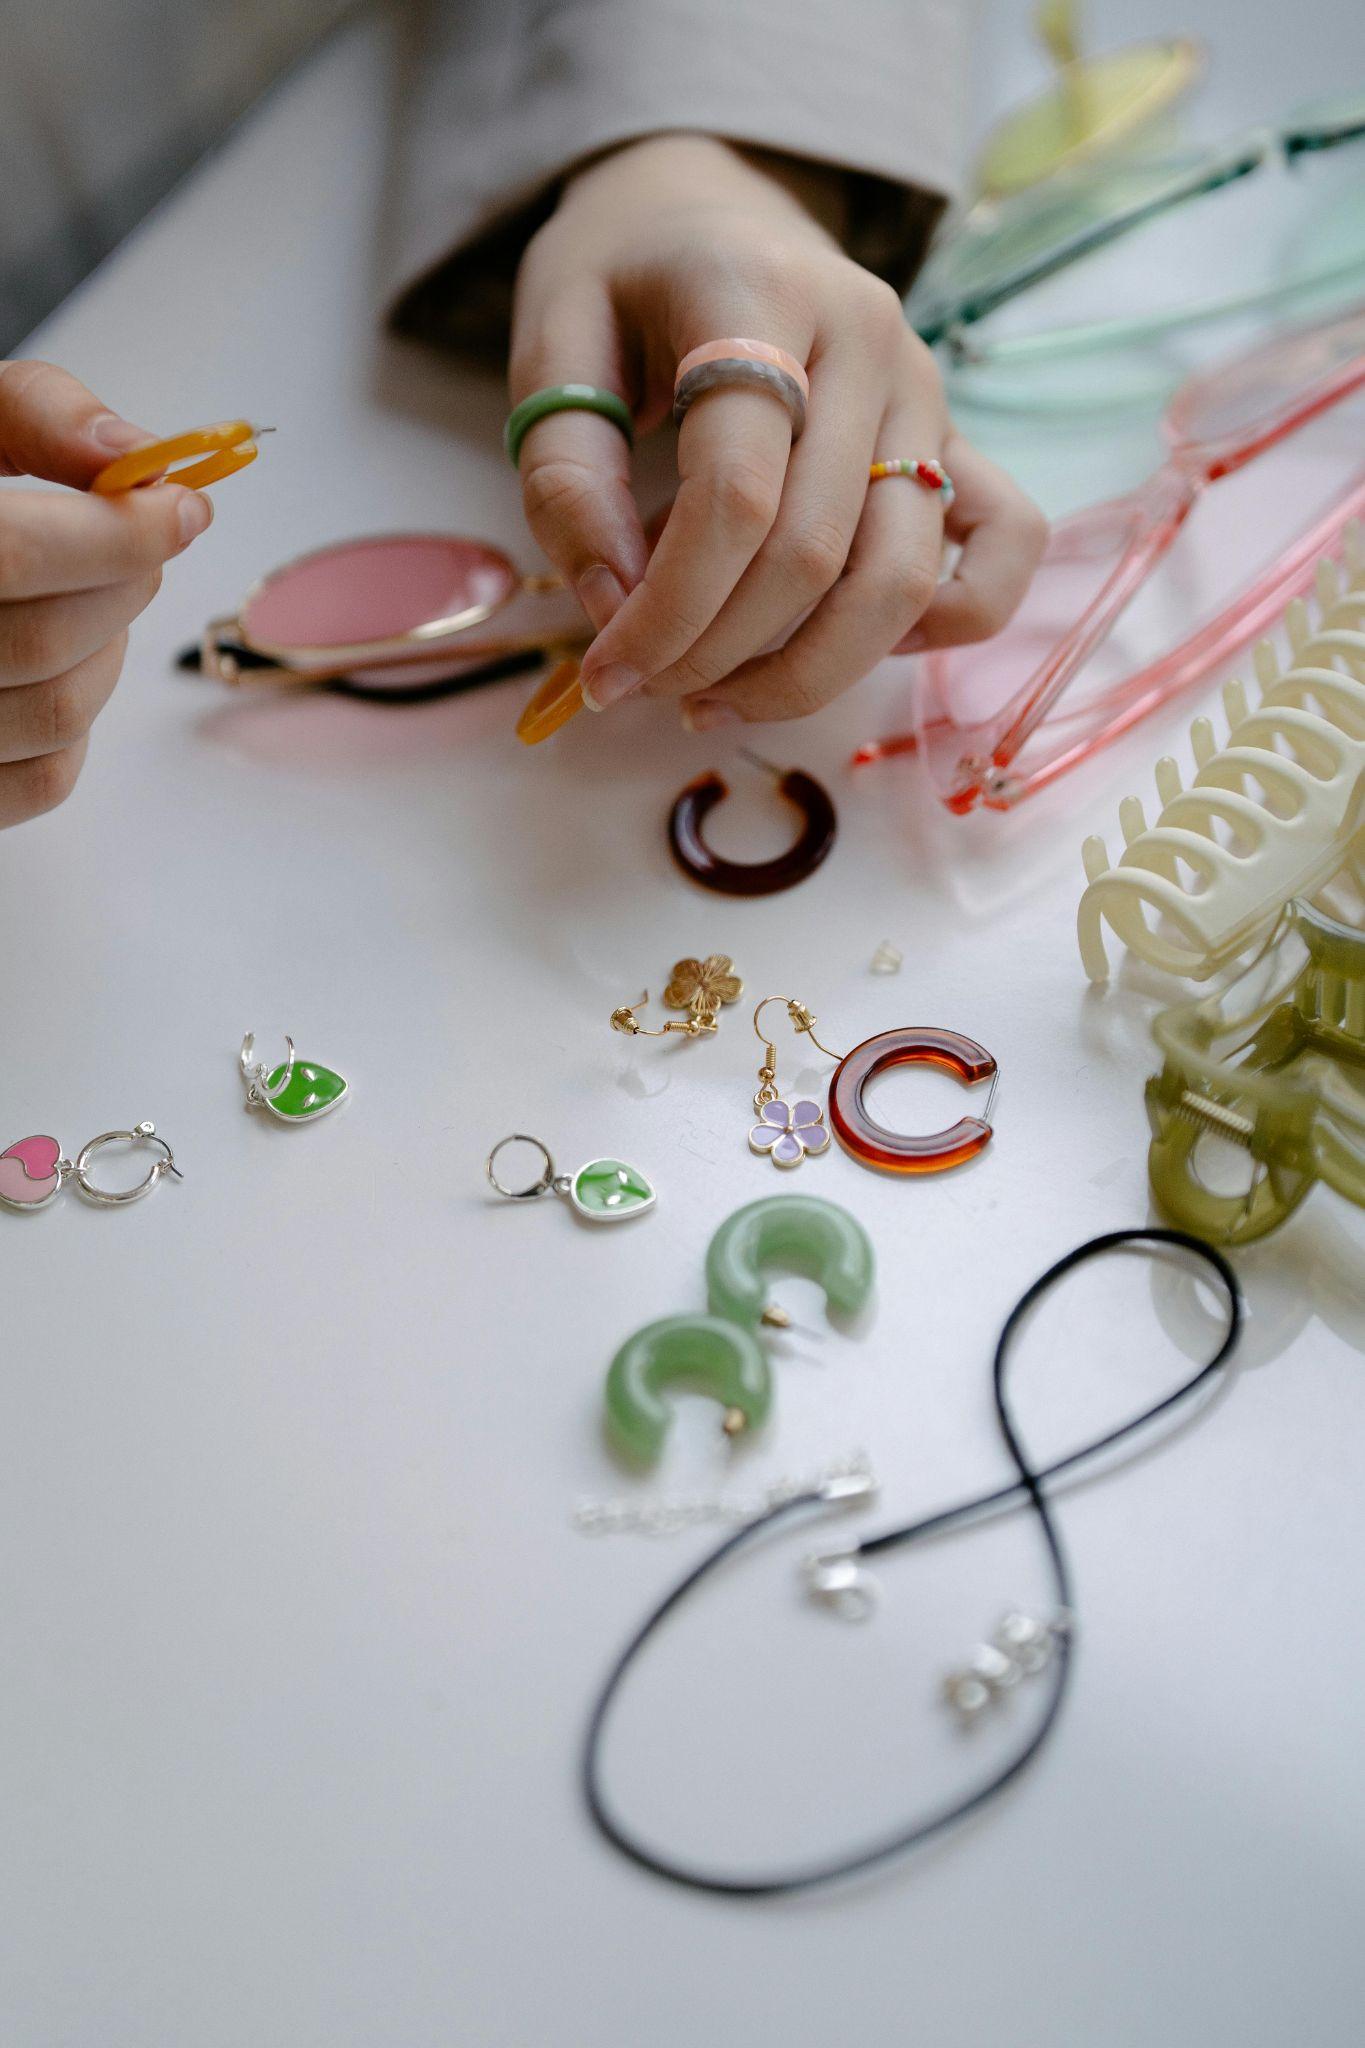
Ever admired handmade jewelry and wondered if you could create your own? With epoxy resin, you can! This versatile material allows you to design custom jewelry pieces that are as durable as beautiful.
However, getting started can feel overwhelming with so many steps and techniques involved. Many beginners report that understanding the resin’s curing process and the right proportions is one of the biggest initial challenges.
In this step-by-step guide to making beautiful epoxy resin jewelry, you’ll learn essential tips for creating unique designs, including ideas to personalize each piece. Ready to begin your journey into DIY jewelry? Read on and get inspired to make your own dazzling creations!
What is Epoxy Resin Jewelry?
Epoxy resin jewelry is a form of handmade jewelry crafted by mixing epoxy resin and hardener to create a glass-like material that’s both durable and customizable.
Once mixed, the resin can be poured into small molds shaped like pendants, rings, or earrings, curing into a solid, glossy finish.
This jewelry often incorporates unique materials such as pigments, glitter, metallic flakes, or small embedded items like dried flowers or seashells, allowing each piece to become a unique work of art.
For those interested in how to make epoxy resin jewelry, the process offers endless opportunities to experiment with color, texture, and shape. Epoxy resin’s transparency allows for stunning depth, making colors pop and giving embedded items a suspended, almost three-dimensional appearance.
Whether you’re looking for minimalist designs or vibrant statement pieces, DIY resin jewelry offers a way to personalize accessories with a professional, high-quality finish.
What are Some Benefits of Epoxy Resin Jewelry?
Epoxy resin jewelry has become popular due to its versatility, durability, and aesthetic appeal. One of the main benefits is its customizability; epoxy resin allows you to create jewelry in any color, shape, or design, using elements like pigments, glitter, metallic flakes, or even small flowers and shells.
This makes each piece unique, making it an ideal medium for those interested in creative ideas for epoxy resin jewelry designs.
Durability is another key benefit. Once fully cured, epoxy resin is highly resistant to scratches, moisture, and everyday wear.
This makes it an excellent choice for rings, necklaces, and bracelets that need to withstand regular use. Additionally, the resin’s glossy finish enhances the colors and embedded elements and protects them, preserving your designs over time.
Epoxy jewelry tutorials provide beginners a simple, accessible way to make custom jewelry pieces. The materials are inexpensive, making it easy to experiment and learn without a huge initial investment.
Plus, crafting your own DIY resin jewelry can be a rewarding, therapeutic process. With just a few supplies and some creativity, anyone can make stunning, one-of-a-kind jewelry that reflects personal style and imagination.
How to Make Epoxy Resin Jewelry?

Creating epoxy resin jewelry is an exciting way to craft custom pieces that reflect your style. From gathering essential materials to finishing techniques, this step-by-step guide to making beautiful epoxy resin jewelry covers each step, helping you design stunning, professional-quality pieces with ease and creativity.
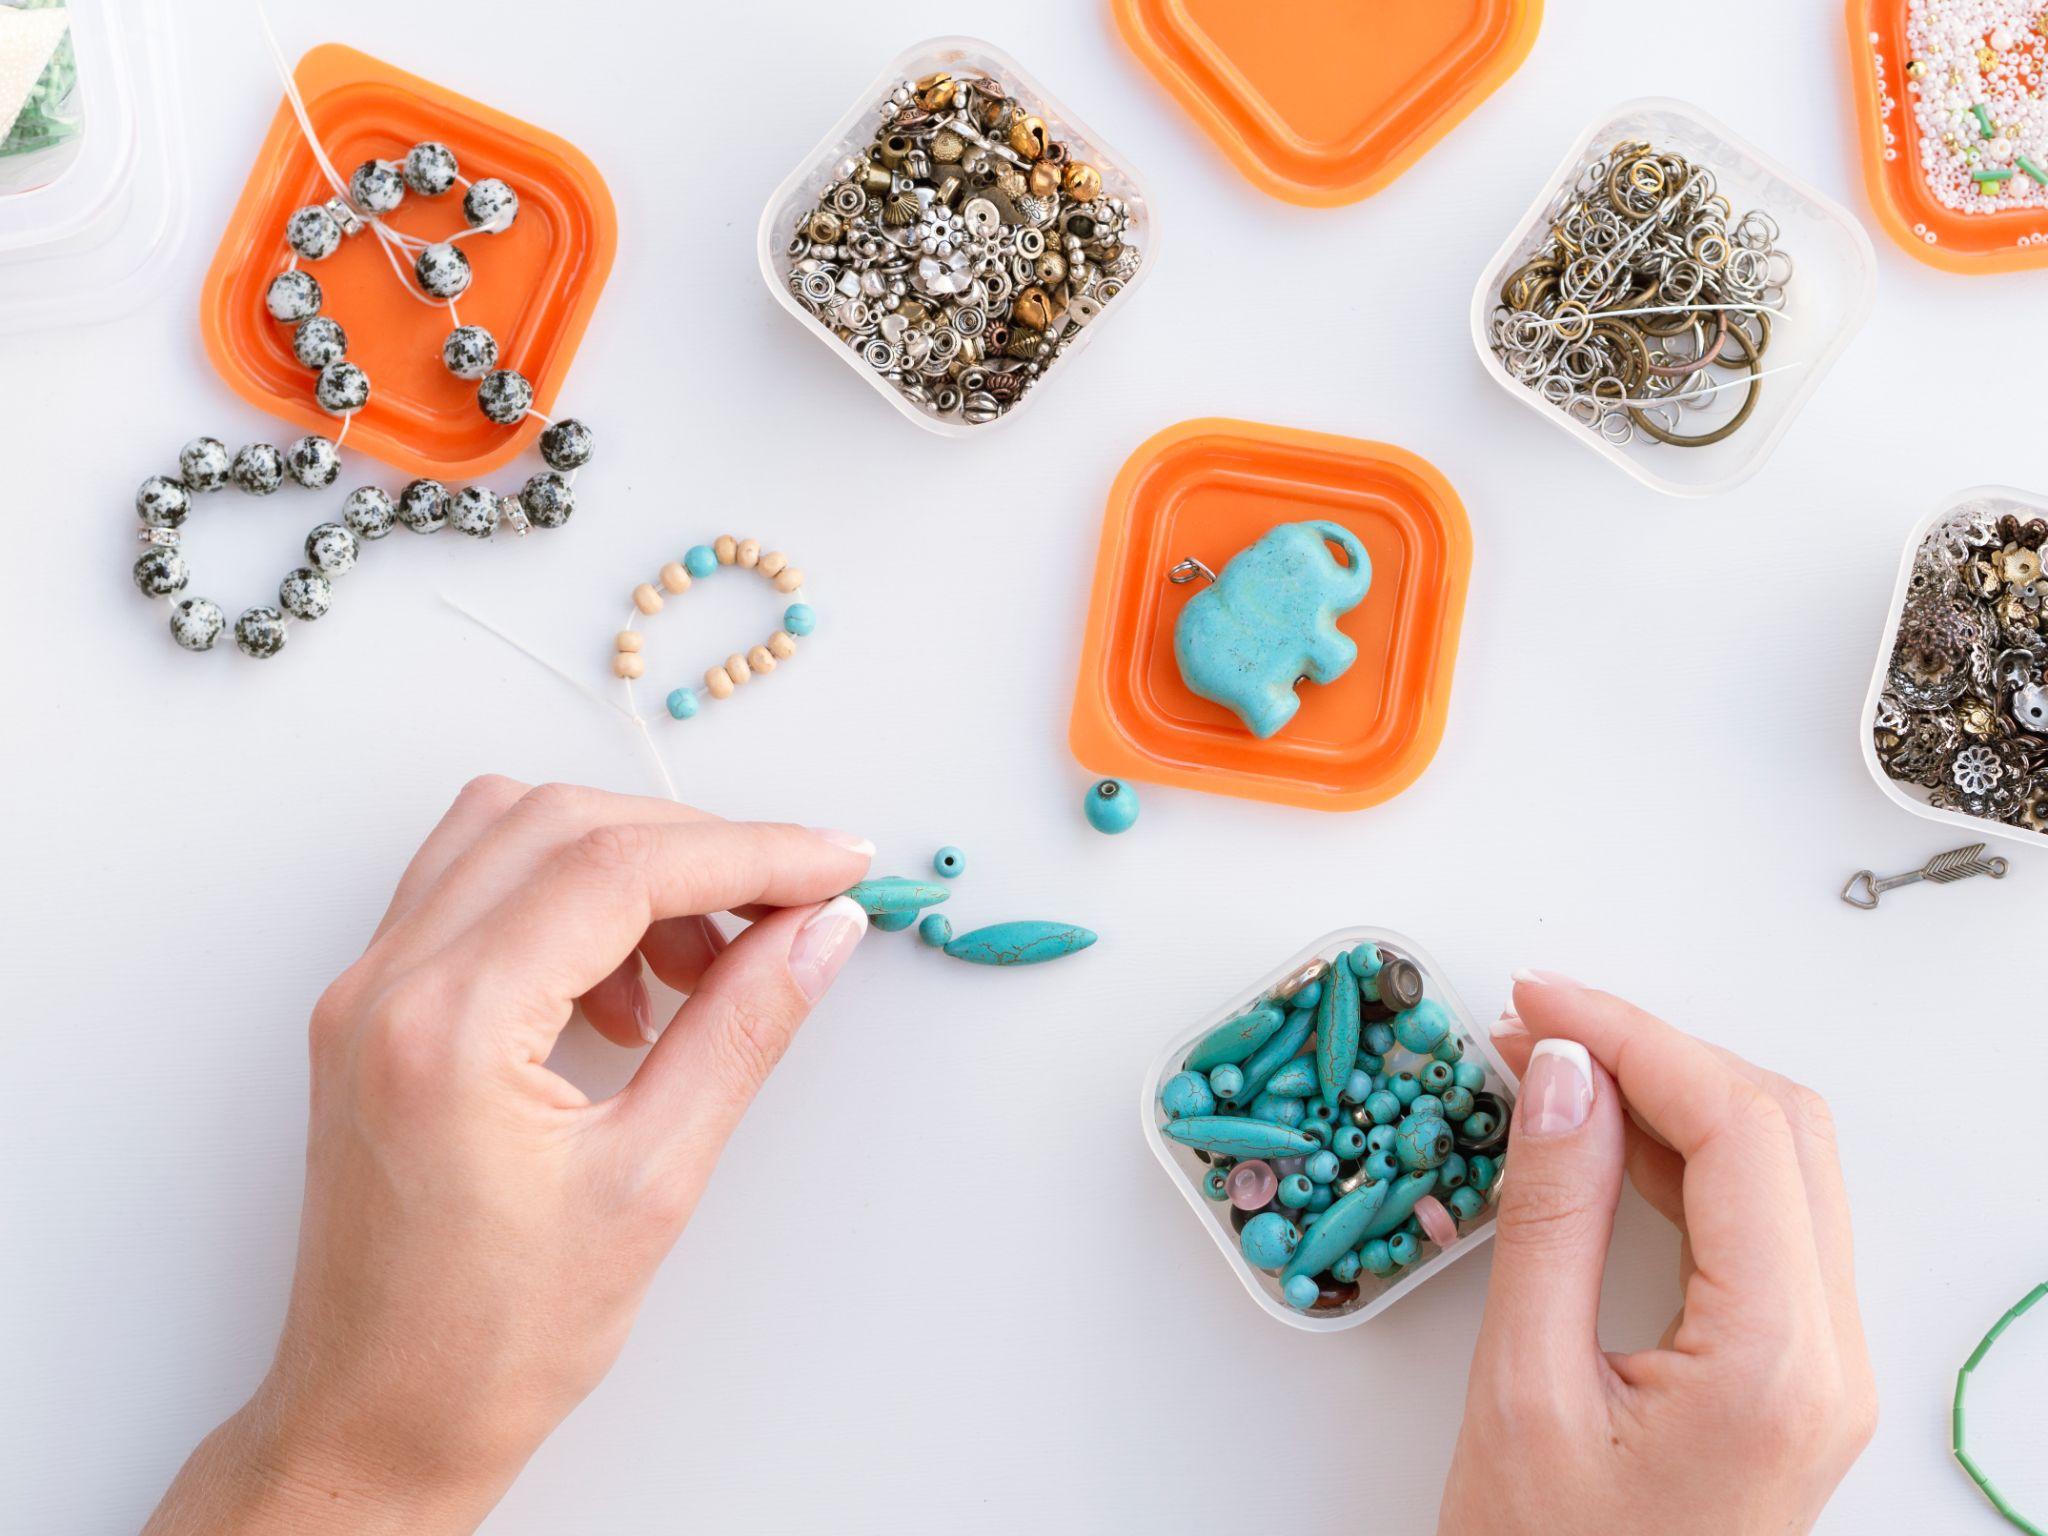
1) Gathering Materials
To begin your journey into making epoxy resin jewelry, gathering high-quality materials is essential. Start with a clear epoxy resin kit (resin and hardener), specifically suited for jewelry making, as it cures with a smooth, glossy finish.
You’ll also need silicone molds in jewelry shapes like pendants, rings, or earrings. For color, have pigments, mica powders, or glitter on hand and small embellishments like dried flowers, metallic flakes, or tiny charms.
Safety gear is important—wear nitrile gloves and a mask and work in a ventilated area to handle resin safely. Finally, have mixing cups, stirring sticks, and toothpicks for precise application. With these materials, you can craft beautiful DIY resin jewelry pieces that dazzle.
2) Measure and Mix the Resin and Hardener
For high-quality epoxy resin jewelry, precise measurement and mixing of resin and hardener are essential. Begin by carefully measuring equal parts of resin and hardener according to the manufacturer’s instructions, as slight variations can affect curing.
Pour each component into a disposable mixing cup, then stir slowly and thoroughly for 3-5 minutes to avoid bubbles and ensure a clear, smooth finish.
Use a flat wooden stick or plastic stirrer, scraping the sides and bottom of the cup to mix evenly. Proper mixing creates a durable base for your jewelry and ensures that it cures perfectly without tackiness or cloudiness.
3) Add Decorations
Once the resin is mixed, you can add decorative elements to make your epoxy resin jewelry truly unique. Pour a thin layer of resin into the mold, then place your chosen decorations, like dried flowers, glitter, metallic flakes, or tiny charms, precisely where you want them.
Use a toothpick to position and adjust items for a balanced design. Avoid overfilling the mold to leave room for a clear resin layer on top, which enhances depth and gives the jewelry a smooth, professional finish. Creative ideas for epoxy resin jewelry designs allow you to experiment and bring out your style in each piece.
4) Pour the Mixture Into Molds
With your resin and decorations prepared, it’s time to pour the mixture into the jewelry molds. Begin by carefully pouring the resin mixture into each mold cavity, filling just below the rim to avoid overflow.
Use a pipette or a pouring stick for precise control, especially with smaller molds like rings or earrings. Pouring slowly helps prevent bubbles; if any do appear, use a toothpick or lightly tap the mold to release them.
Pour in stages, adding additional decorations between layers, for a layered effect. This step is crucial in any epoxy jewelry tutorial, ensuring smooth, professional-looking pieces.
5) Removing the Bubbles
After pouring the resin into molds, removing air bubbles is essential for a clear, smooth finish in your epoxy resin jewelry.
Use a heat gun or a small torch held a few inches above the surface to gently pop bubbles, moving the tool in a steady motion to avoid overheating the resin.
Alternatively, lightly spritz the surface with isopropyl alcohol to release trapped bubbles. For smaller molds, a toothpick can help dislodge bubbles in tight areas.
Taking time to remove bubbles carefully ensures a crystal-clear, professional look, giving your DIY resin jewelry a flawless finish.
6) Letting it Cure
Proper curing is essential to achieving durable, high-quality epoxy resin jewelry. After removing bubbles, cover the molds with a dust-free cover, like a box or plastic sheet, to prevent particles from settling on the resin.
Place the molds in a stable, flat area and let them cure according to the resin manufacturer’s instructions, typically 24 to 72 hours. Avoid touching or moving the molds during this time, as the resin is still tacky and can lose shape.
Patience is key—allowing the resin to cure fully ensures your DIY resin jewelry will be strong, glossy, and ready to wear.
7) Drilling and Assembly
Once your epoxy resin jewelry pieces have fully cured, it’s time to drill and assemble them. Use a small handheld drill or a pin vise to create holes where needed, especially for pendants or earrings. Drill carefully, applying light pressure to avoid cracking or damaging the resin.
After drilling, attach jump rings, chains, or earring hooks to complete your jewelry pieces. Remove any dust from drilling and polish the surfaces if needed for a professional finish. This final step in the epoxy jewelry tutorial brings your unique creations to life, turning them into beautiful, wearable art.
8) Sealing and Protecting
Sealing and protecting each piece of epoxy resin jewelry is essential to ensure its longevity. Although resin is naturally durable, applying a thin protective coating—like a clear resin sealer spray—adds an extra layer of shine and scratch resistance.
Lightly spray or brush the sealant over the jewelry, ensuring even coverage without buildup.
Allow the coating to dry fully before handling or wearing. This sealing step enhances the jewelry’s gloss, making colors and embedded decorations pop while protecting it from daily wear. Sealing your DIY resin jewelry ensures it remains beautiful and vibrant for years.
What are Some Ways to Make Unique Epoxy Resin Jewelry?
Crafting epoxy resin jewelry that stands out involves techniques like color mixing, using unusual molds, adding textures, and experimenting with layering effects.
You can transform each piece into a work of art with some creativity. These creative ideas for epoxy resin jewelry designs will help make your projects unique.
1) Color Mixing
Color mixing is a key technique in creating distinct and personalized epoxy resin jewelry. To achieve this, start by mixing multiple resin colors using a variety of pigments, mica powders, or alcohol inks. Layer these colors in molds, or swag them together for intricate patterns.
Following a step-by-step guide to making beautiful epoxy resin jewelry, experiment with color contrasts, ombre effects, or gradients for added depth and interest. You can also try combining transparent and opaque colors for a dynamic effect.
Mastering color mixing enhances the appeal of each piece and adds a unique touch to your DIY resin jewelry collection.
2) Using Various Decorations
Adding unique decorations is a great way to elevate your epoxy resin jewelry. Small items like dried flowers, glitter, metallic flakes, or even tiny seashells can bring texture and personality to each piece.
For those following an epoxy jewelry tutorial, consider layering decorations between resin pours to create a “floating” effect. This approach highlights each element, making colors and textures stand out.
Tips for crafting unique epoxy resin jewelry pieces include experimenting with holographic glitters or embedding small charms. These added decorations make your DIY resin jewelry unique, showcasing your personal style and creativity.
3) Experimenting With Various Shapes
Exploring different mold shapes can transform epoxy resin jewelry into unique, statement-making pieces. Instead of standard round or square molds, try shapes like teardrops, hexagons, or abstract forms for added interest.
Using unique shapes in your designs, along with creative ideas for epoxy resin jewelry designs, can give each piece a custom feel. Some molds even allow for 3D effects, letting you add layers and depths that capture light beautifully.
Experimenting with various shapes adds versatility to your DIY resin jewelry and makes each piece feel fresh and distinctive, perfect for expressing your style.
What are Some Popular Epoxy Resin Jewelry Designs?
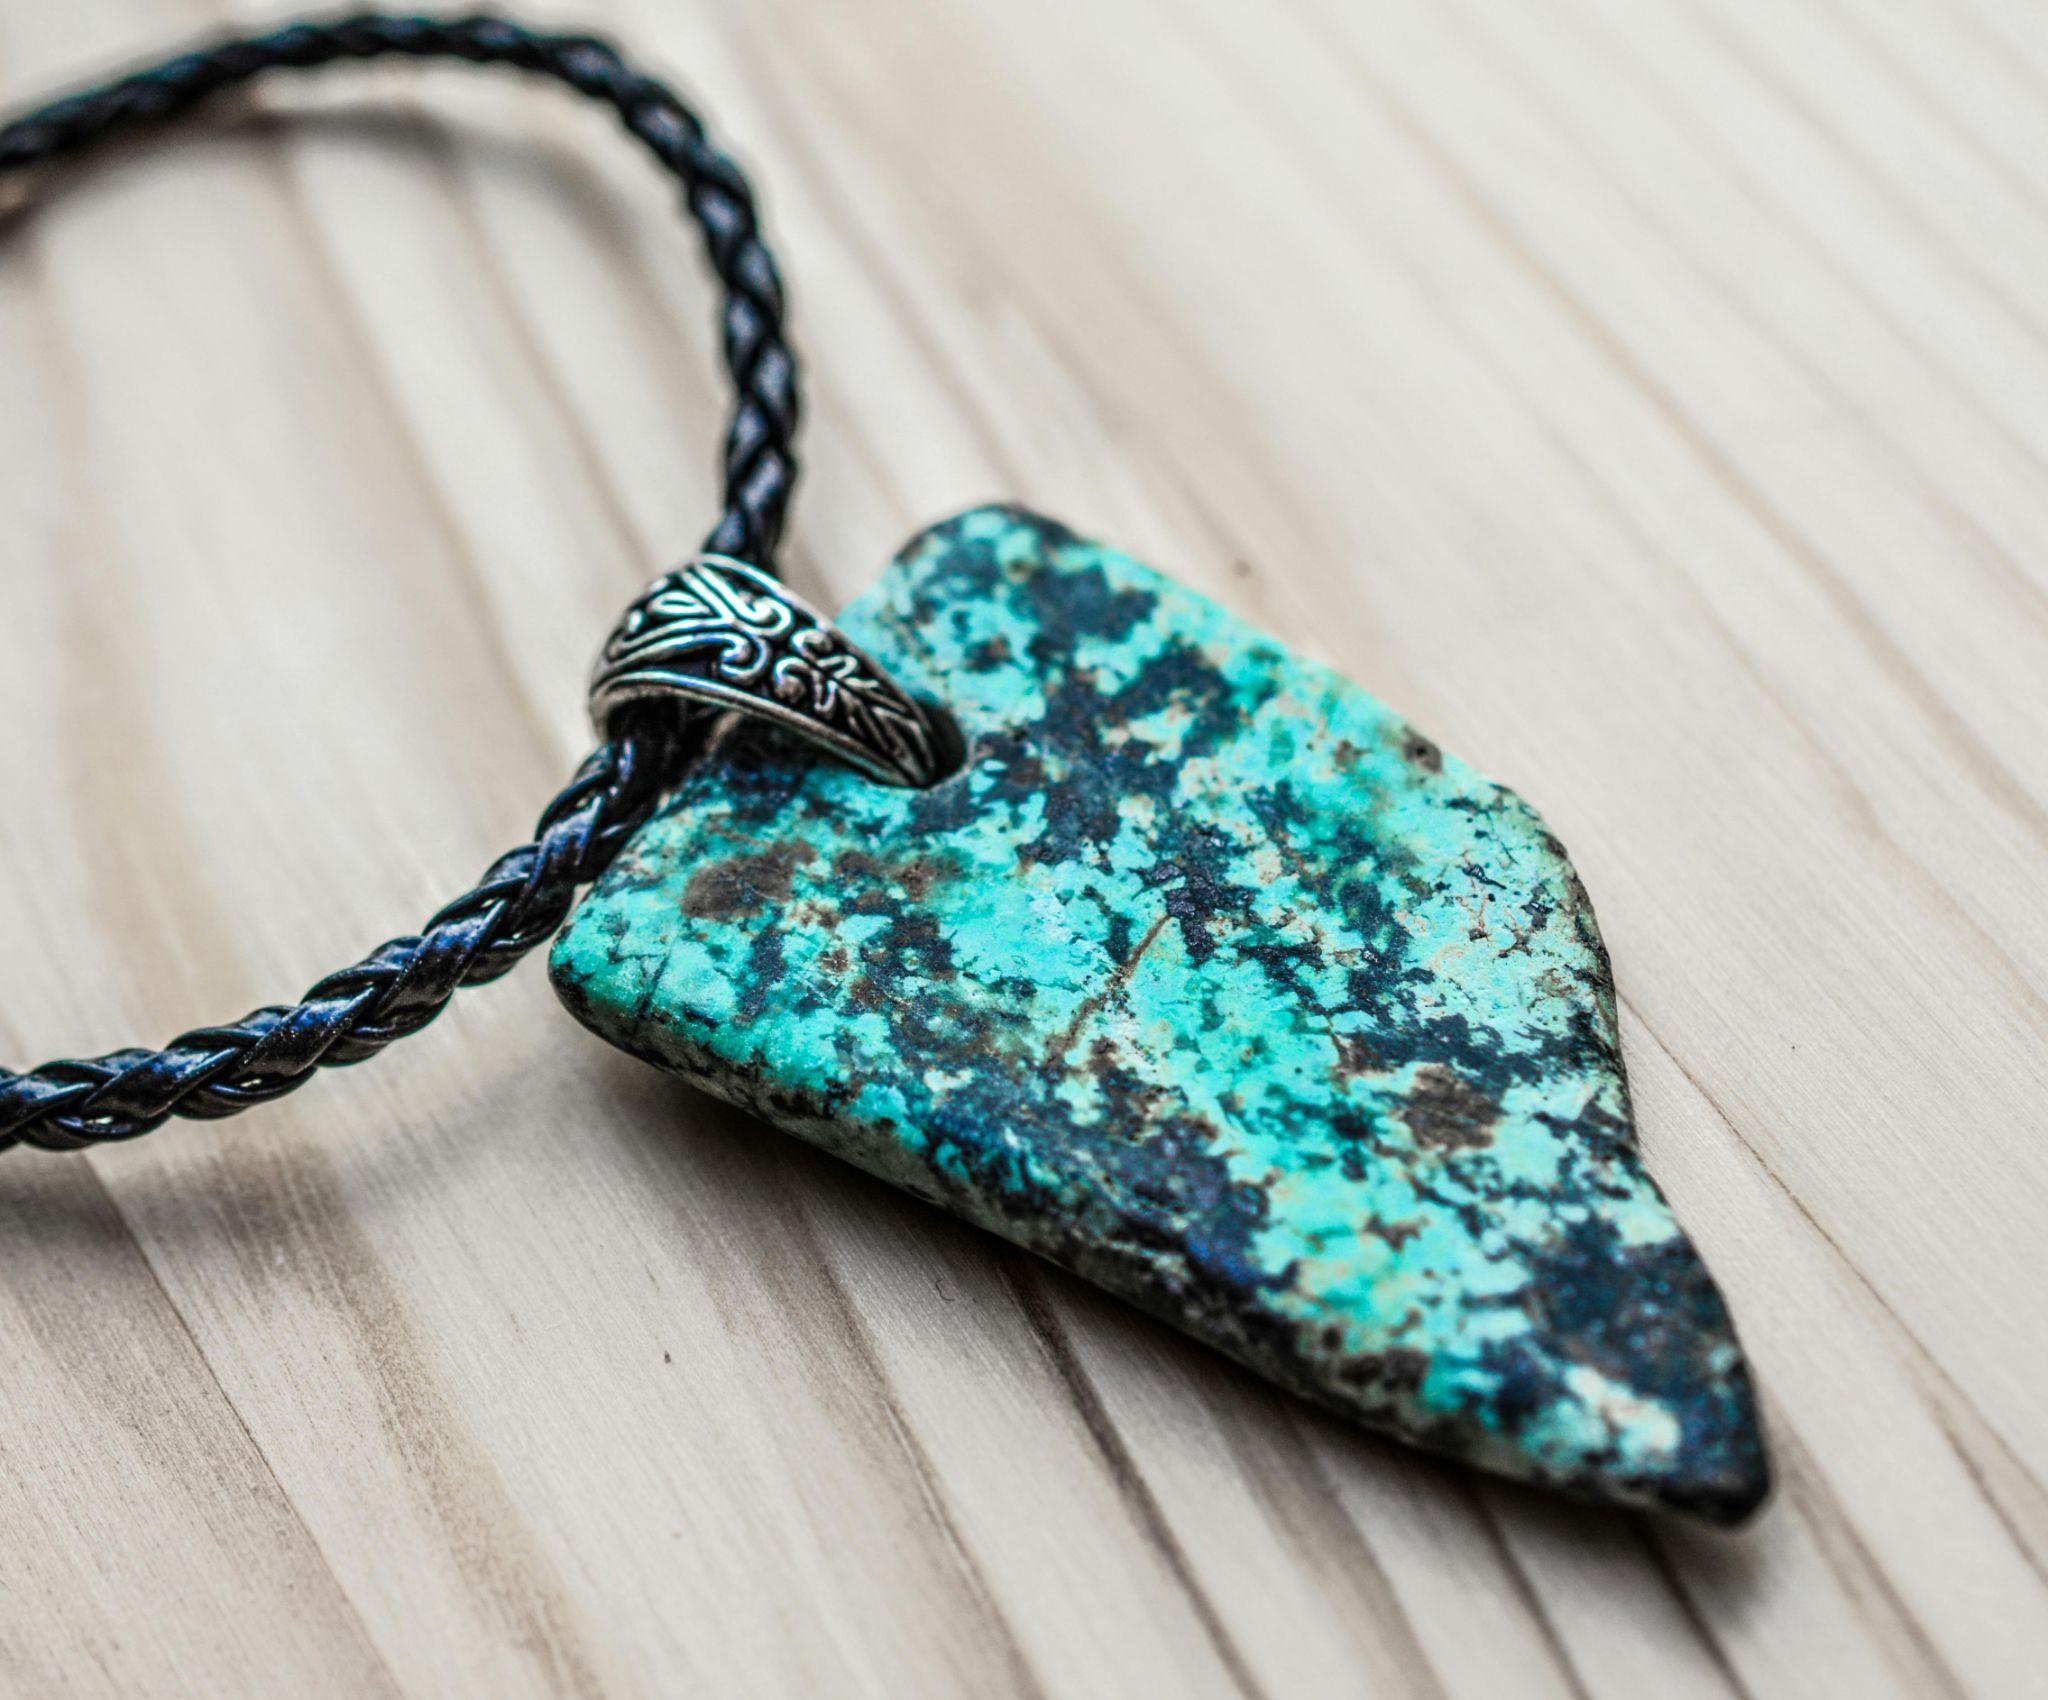
Popular epoxy resin jewelry designs range from simple monotone looks to intricate layered styles, each offering a unique way to showcase the beauty of resin. Designs like clear floral pendants, glitter-infused pieces, and abstract swirls allow for endless DIY resin jewelry-making creativity.
1) Monotone Designs
Monotone designs are a classic choice in epoxy resin jewelry, offering a sleek, minimalist aesthetic that appeals to many. These designs use a single color—such as black, white, or pastel shades—creating a bold, uniform look with a glossy, professional finish.
For a sophisticated touch, consider using pearlescent or metallic pigments that give depth to the monotone effect without adding other colors.
Tips for crafting unique epoxy resin jewelry include adding subtle decorations, like a hint of glitter or a single embedded item, to enhance the monochrome look without overpowering it. Monotone designs are timeless, allowing beginners to achieve elegant, modern pieces easily.
2) Galaxy and Ocean Designs
Galaxy and ocean designs are among epoxy resin jewelry’s most visually captivating options. These designs mimic the colors and depth of space or ocean waves, creating mesmerizing effects that appear almost three-dimensional.
To achieve a galaxy look, use deep blues, purples, and touches of metallic silver or gold pigments, swirling them together to resemble a starry sky.
For ocean designs, blend shades of blue and turquoise with white for “wave” patterns, adding fine glitter for a sparkling effect. These creative ideas for epoxy resin jewelry designs capture natural beauty and are ideal for those wanting statement DIY resin jewelry pieces.
3) Geode-inspired Designs
Geode-inspired designs in epoxy resin jewelry recreate the look of natural gemstones and crystals, adding a luxurious, earthy touch to your pieces.
To make these designs, start by layering different resin colors to mimic the inner rings of a geode—think shades of amethyst, turquoise, or smoky quartz.
Add metallic pigments like gold or silver to highlight “veins” within the piece, and use chunky glitter or small glass shards to replicate the sparkle of raw crystal.
These designs combine texture and depth, creating stunning, unique jewelry that resembles real gemstones. Epoxy jewelry tutorials often feature geode designs, perfect for eye-catching DIY resin jewelry.
4) Vintage Styles
Vintage-inspired epoxy resin jewelry combines classic aesthetics with modern resin techniques, creating pieces with a timeless charm. To achieve this look, use molds that mimic antique cameo or locket shapes and incorporate muted colors like ivory, rose, or sepia.
Embedding small, delicate items such as dried flowers, lace fragments, or tiny charms adds an authentic vintage feel. Metallic powders in bronze or gold can also enhance the look, giving the piece an aged, heirloom-like quality.
These DIY resin jewelry pieces are perfect for those seeking creative ideas for epoxy resin jewelry designs that bring an elegant, nostalgic appeal to their accessories.
Finishing Thoughts
Creating epoxy resin jewelry is an accessible and rewarding way to design unique, personalized pieces showcasing creativity. Resin allows endless possibilities, from exploring different techniques like color mixing and layering to experimenting with popular styles like geode-inspired or vintage looks.
For those just starting, following a step-by-step guide to making beautiful epoxy resin jewelry can build confidence while honing skills. Each piece becomes a wearable piece of art, reflecting personal style and imagination.
As you dive into DIY resin jewelry, embrace the journey, experiment with designs, and enjoy the satisfaction of crafting pieces that dazzle and inspire. For the best epoxy products to bring your creations to life, check out JBH Chemical Ventures and start crafting today!