Are you looking for a way to elevate your wood art projects and create stunning, one-of-a-kind pieces? Epoxy resin for wood art offers a unique opportunity to combine the natural beauty of wood with the versatility and vibrancy of resin.
This art form has gained popularity, with searches for wood resin projects increasing significantly—up to 25% in recent years—as more artisans and DIY enthusiasts discover the potential of this creative medium.
However, many may struggle with the best techniques for combining epoxy resin with wood, leading to questions about how to achieve that perfect finish or prevent common mistakes.
In this guide, you’ll learn how to use epoxy resin in wood art projects, explore effective techniques, and follow a step-by-step guide to creating wood art with epoxy resin.
Whether you’re a seasoned artist or a beginner looking to explore epoxy wood design, read on to unlock the secrets to crafting elegant, eye-catching pieces that showcase the beauty of both wood and resin.
What is Epoxy Resin Wood Art?
Epoxy resin wood art is a creative process that combines the natural beauty of wood with the glossy, vibrant qualities of epoxy resin to create stunning, one-of-a-kind pieces.
This technique involves pouring epoxy resin into wooden forms, filling in cracks, or creating intricate designs that enhance the wood’s natural grain and texture.
The resin can be tinted with pigments, dyes, or metallic powders, allowing for a wide range of colors and effects.
Popular applications include tabletops, decorative wall art, coasters, and even furniture accents. The result is a durable and visually striking piece that showcases the elegance of both wood and resin.
Why Combine Epoxy Resin and Wood Art?
Combining epoxy resin and wood art creates a unique synergy that enhances the aesthetic appeal and durability of artistic creations. The integration of epoxy resin allows artists to fill cracks, knots, and imperfections in wood, transforming them into striking focal points rather than flaws.
This technique enhances the natural beauty of the wood while providing a high-gloss, glass-like finish that adds depth and vibrancy to the piece.
Moreover, epoxy resin offers versatility in color; artists can incorporate various pigments, dyes, and metallic elements to achieve custom hues and shimmering effects that complement the wood grain.
This combination allows for a wide range of artistic expression, from functional pieces like tables and serving boards to decorative wall art.
Additionally, the durability of epoxy resin protects the wood from moisture and wear, making combined creations not only visually appealing but also long-lasting. This fusion ultimately elevates the craftsmanship, resulting in stunning pieces that showcase both materials’ strengths.
What are Some Popular Types Of Epoxy Wood Art Projects?
Popular types of epoxy wood art projects include river tables, wall art, coasters, furniture accents, and charcuterie boards. Each project allows for creative expression and showcases the stunning combination of wood and resin, resulting in unique pieces that enhance any space.
1) River Tables
River tables are among the most popular projects in epoxy resin wood art, captivating artisans and homeowners alike. These tables feature a mesmerizing design that resembles a flowing river, created by pouring epoxy resin into the natural gaps and cracks between slabs of wood.
This process highlights the beauty of the wood grain while the resin can be clear or tinted to mimic various water hues, such as deep blues and vibrant greens.
Artists often incorporate metallic pigments to achieve shimmering effects, adding depth and dimension. The result is a stunning centerpiece that combines functionality with artistry.
River tables can be customized in size and style, suitable for dining tables, coffee tables, or side tables, making them a versatile addition to any home.
This type of wood resin art exemplifies how combining epoxy resin and wood creates breathtaking designs that elevate your living space while showcasing the natural beauty of both materials.
2) Wall Art and Abstract Pieces
Wall art and abstract pieces are a fantastic way to explore epoxy resin wood art, allowing for creative expression and stunning visual effects.
By combining wood panels with vibrant epoxy resin, artists can create captivating designs that enhance any wall. These projects often feature intricate patterns, flowing colors, and unique textures, making each piece a one-of-a-kind artwork.
Artists can use various techniques, such as pouring, swirling, and layering, to achieve depth and movement in their designs. Incorporating metallic pigments or colored dyes can add shimmer and dimension, further elevating the overall aesthetic.
Abstract pieces can vary in size and shape, allowing them to fit seamlessly into different decor styles, from contemporary to rustic.
Whether framed or mounted directly onto the wall, epoxy resin wood art wall pieces serve as eye-catching focal points that draw attention and spark conversation, beautifully blending the natural warmth of wood with the modern appeal of resin.
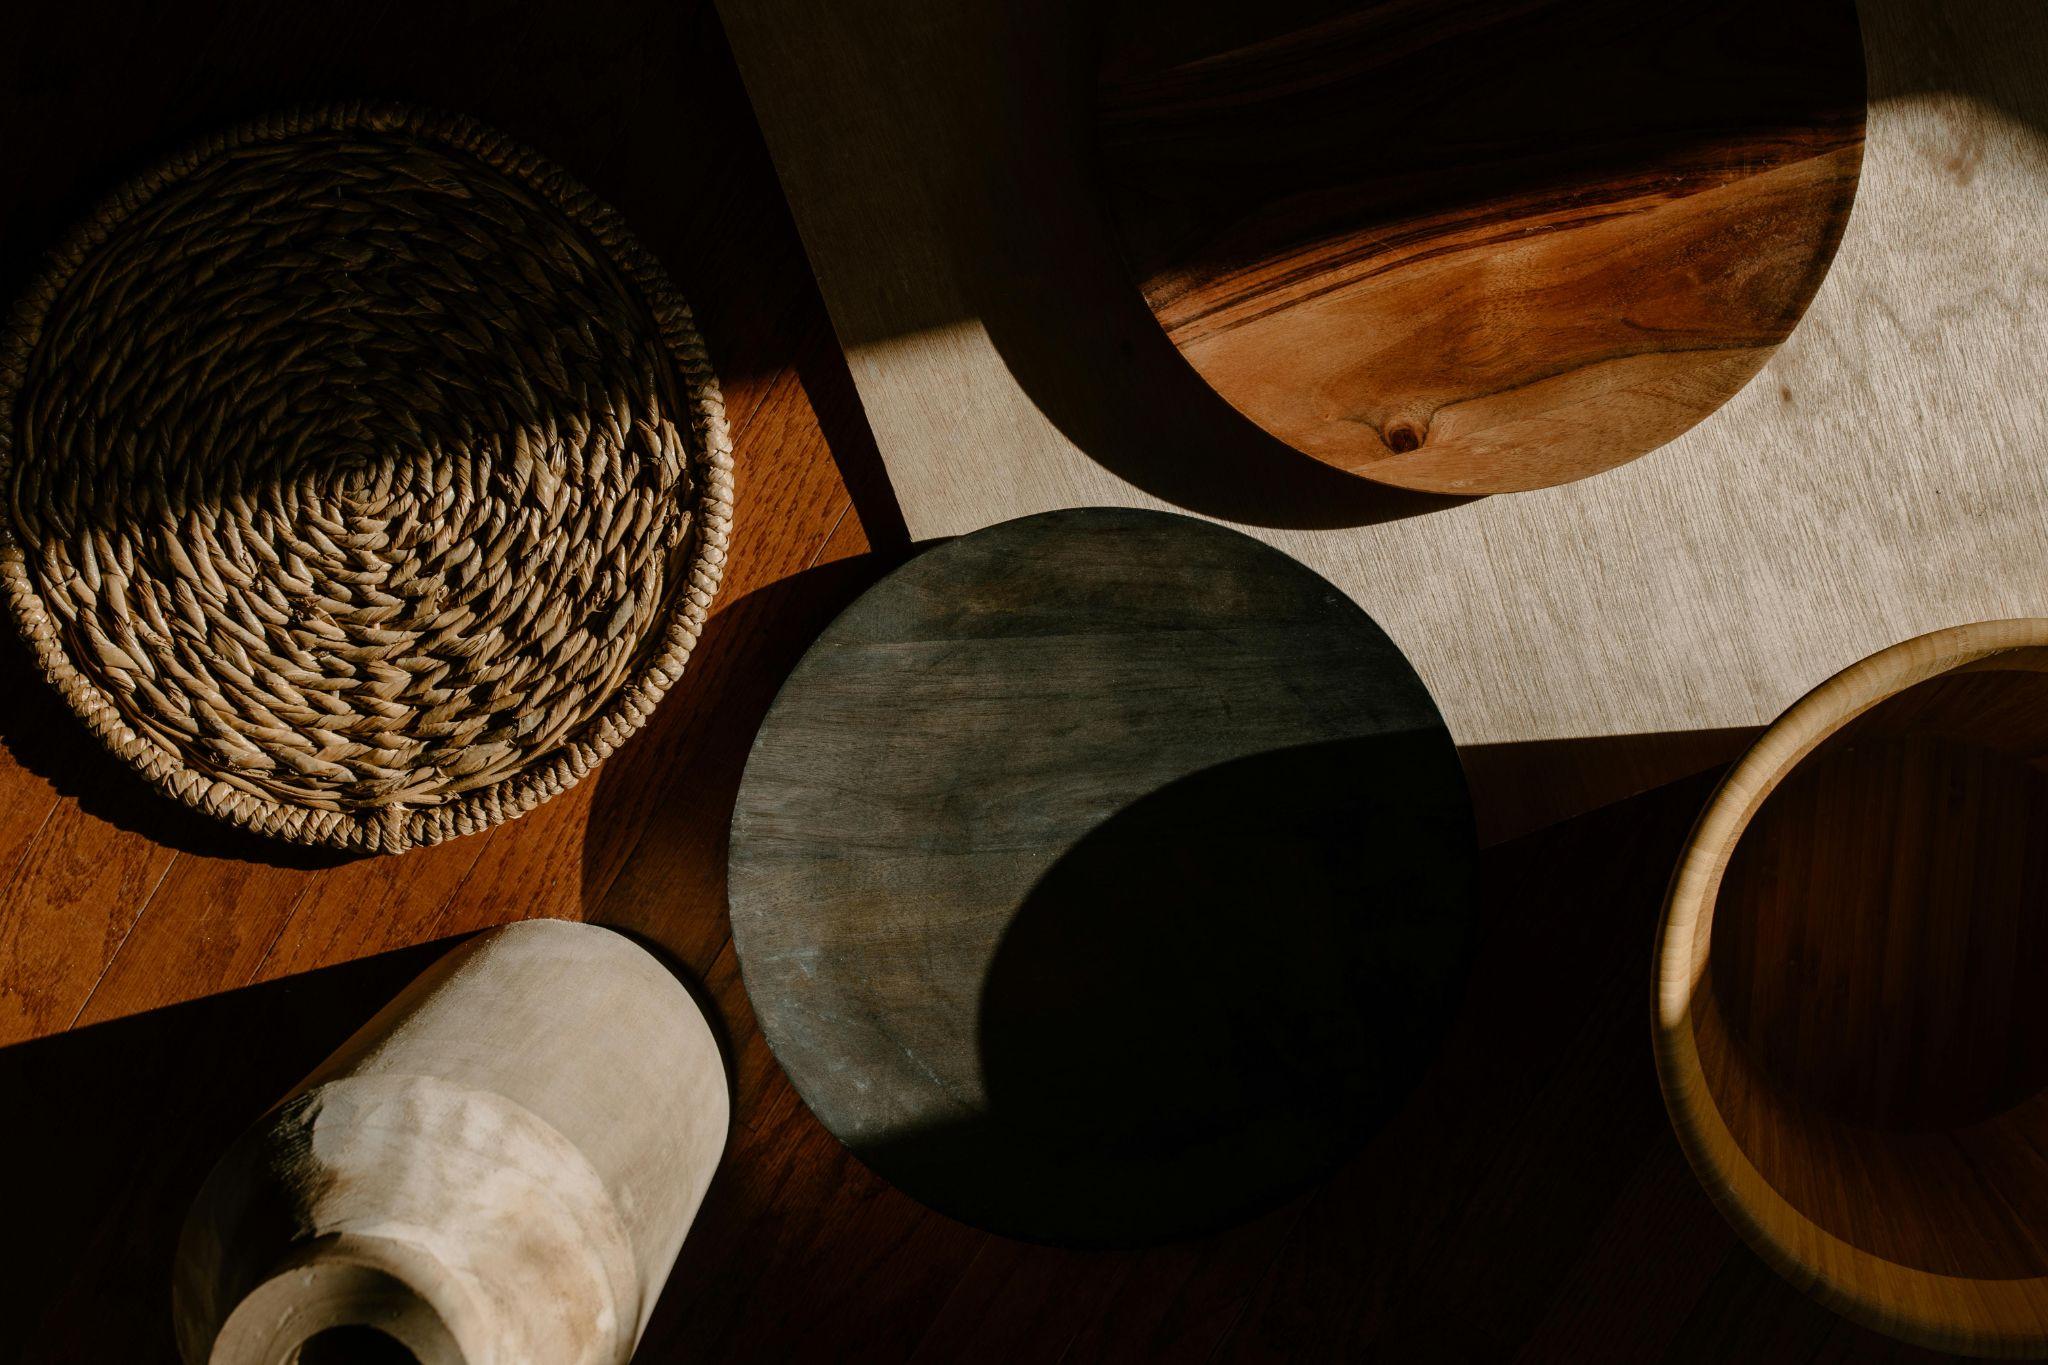
3) Serving Trays and Cutting Boards
Creating serving trays and cutting boards using epoxy resin for wood art combines functionality with artistic flair, making them perfect for home use or as thoughtful gifts.
These projects allow artisans to showcase their creativity while crafting durable and visually stunning pieces. By pouring epoxy resin into carefully designed wooden bases, artists can fill in natural voids, enhance grain patterns, and create beautiful, unique designs.
Incorporating vibrant colors, metallics, or even embedded items like dried flowers or herbs can personalize each piece, transforming ordinary serving trays and cutting boards into eye-catching kitchen accessories.
The glossy finish of the epoxy resin not only adds aesthetic appeal but also provides a protective layer, making the surface easy to clean and resistant to stains. These functional pieces are not only practical but also serve as conversation starters when entertaining guests.
Epoxy wood design for serving trays and cutting boards exemplifies how artistry and utility can come together beautifully in your home.
4) Furniture Accents
Using epoxy resin for wood art to create furniture accents allows for personalized touches that elevate any space. Projects like drawer pulls, table inlays, or decorative elements for shelving units showcase the beauty of wood while adding a modern twist.
By combining epoxy resin with unique wood species, artisans can design stunning accents that enhance the overall aesthetic of furniture.
For example, incorporating colored resin into a tabletop or cabinet front can create striking visual contrasts, highlighting the wood’s natural grain while introducing vibrant hues. Techniques such as layering, marbling, or embedding materials can add depth and interest to these accents.
Epoxy’s durability ensures that these pieces withstand everyday use, maintaining their beauty over time.
From rustic farmhouse styles to sleek modern designs, epoxy wood design for furniture accents offers endless possibilities for customization, allowing you to create stunning, functional pieces that reflect your personal style and enhance your home decor.
What Are the Materials Required to Make Epoxy Wood Art?
To create epoxy wood art, gather the following essential materials:
- Epoxy Resin – A clear, high-quality epoxy resin that cures to a glossy finish is crucial for your project.
- Wood Base – Choose a piece of wood, such as a slab or panel, that will serve as the foundation for your art.
- Pigments and Dyes – Use color pigments, mica powders, or alcohol inks to add vibrant colors and effects to the resin.
- Mixing Cups and Sticks – Essential for measuring and mixing the resin and hardener without contamination.
- Heat Gun or Torch – Used to eliminate air bubbles from the mixed resin.
- Protective Gear – Gloves, a mask, and safety goggles to ensure safe handling of the resin.
These materials will help you create stunning wood resin art pieces that showcase the beauty of both wood and epoxy.
Step-by-Step Guide to Making Epoxy Resin Wood Art
Creating epoxy resin wood art involves a series of careful steps, from preparing your wood base to pouring and finishing the resin. This guide will help you navigate the process, ensuring you achieve stunning results in your wood art projects.
a professional-looking finish in your wood resin art project.
2) Set Up a Mold
Setting up a mold is an important step in creating epoxy resin wood art. If your design includes specific shapes or requires edges to be contained, use a silicone mold or create a mold using painter’s tape around the edges of your wood base.
Ensure the mold is secure and watertight to prevent leaks during the pouring process. If using tape, make sure it adheres well and forms a solid barrier. Alternatively, you can also use a form made of plastic or wood if you’re pouring a large quantity of resin.
Prepping the mold ensures a clean, defined edge, giving your final piece a professional appearance.
3) Mix the Epoxy
Once your mold is ready, it’s time to mix the epoxy resin. Begin by reading the manufacturer’s instructions for the specific epoxy you’re using, as the mixi1) Preparing the Wood
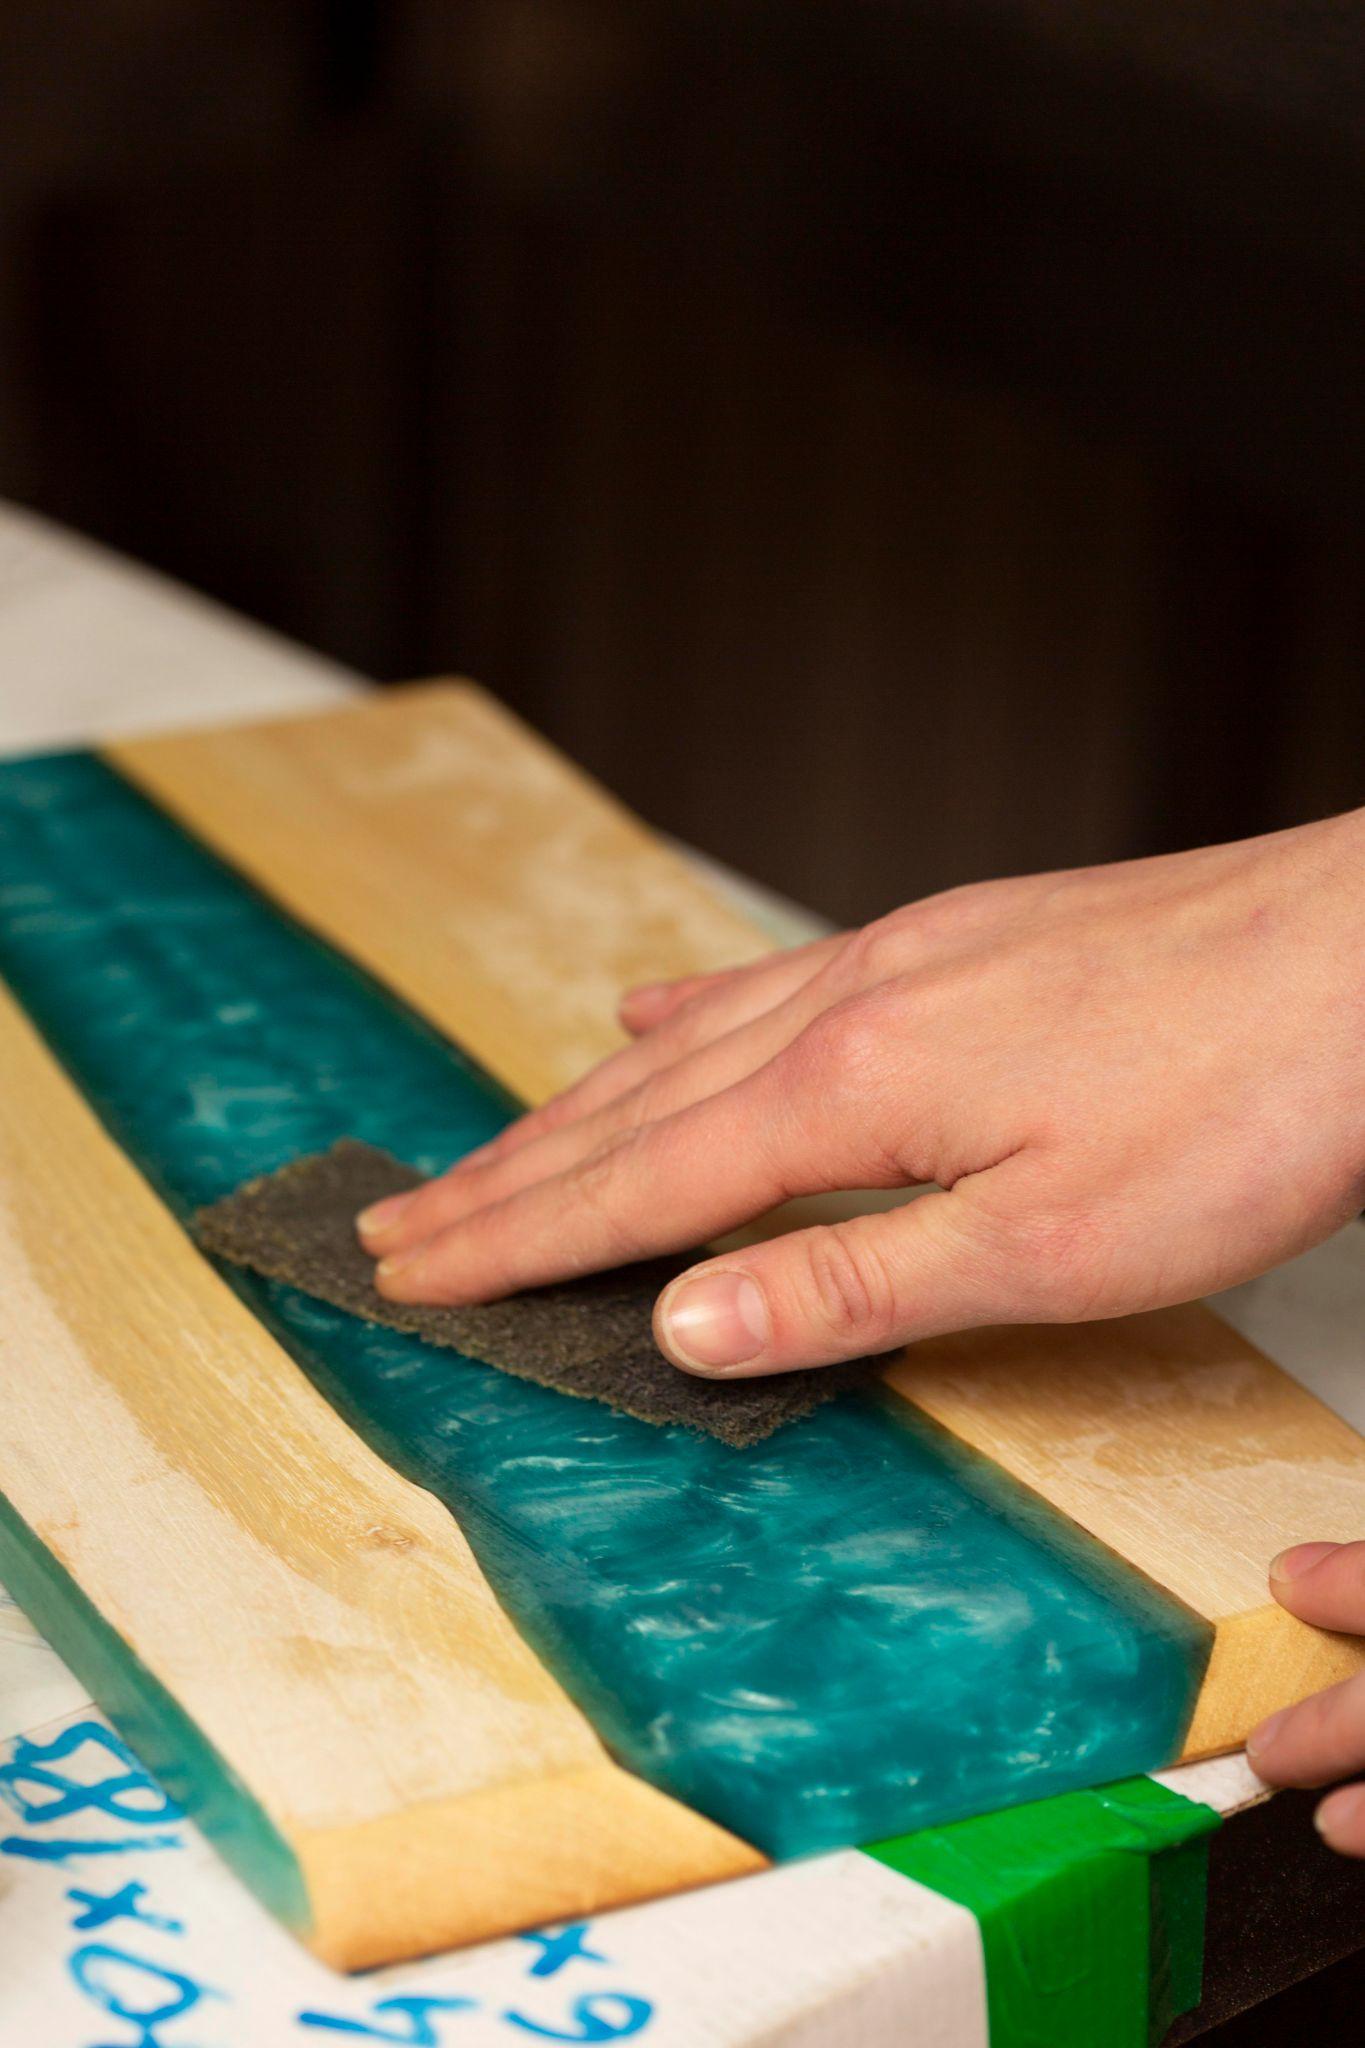
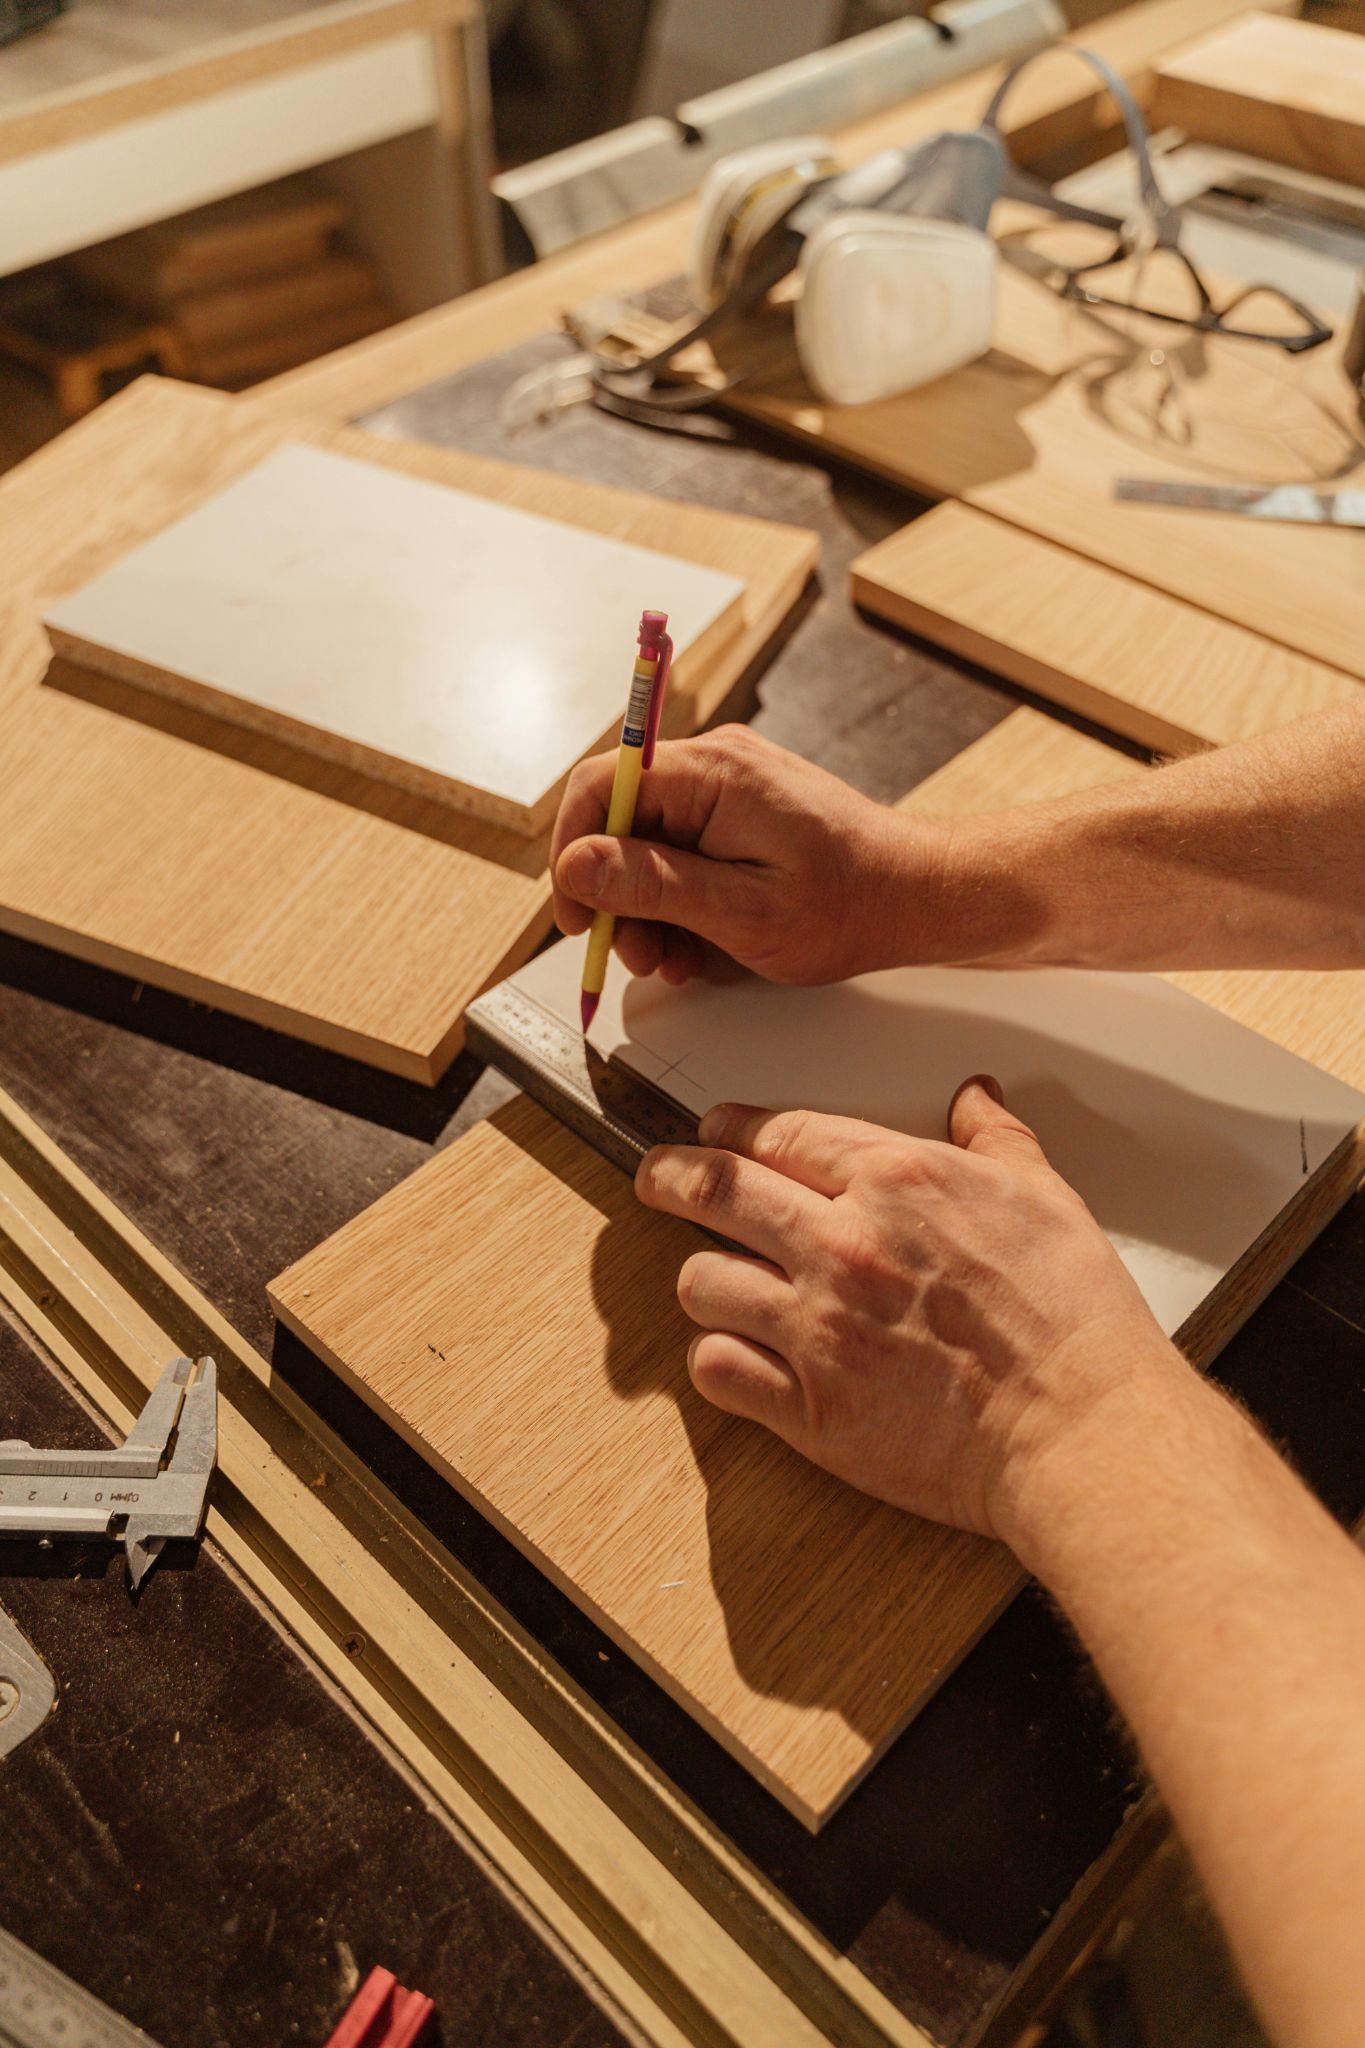
Begin by selecting a suitable dry wood piece, such as a slab or a panel, that fits your design vision for epoxy wood art. Ensure the wood is clean and free from dirt, dust, or debris.
Sand the surface with fine-grit sandpaper to create a smooth finish, which helps the epoxy adhere better. You can cut the wood to size using a saw if you desire a specific shape.
After sanding, wipe the wood down with a damp cloth to remove any dust particles. If the wood has any cracks or imperfections, consider using wood filler to create a level surface. Properly preparing the wood is essential for achievingng ratio can vary. In a clean mixing cup, measure equal parts of resin and hardener.
Use a stirring stick to combine the two components thoroughly, mixing for at least 3-5 minutes to ensure a uniform blend. Be cautious not to introduce too many air bubbles during this process. If desired, add pigments or dyes to achieve your desired color, mixing them in thoroughly.
Once mixed, your epoxy is ready for pouring, and you’ll be on your way to creating beautiful wood resin art.
4) Pour the Resin and Remove the Bubbles
After mixing your epoxy resin for wood art, carefully pour it into the prepared mold over the wood base. Begin in the center and allow the epoxy resin to flow naturally towards the edges, ensuring even coverage across the entire surface.
If you are working on wood resin art with multiple colors or layers, consider pouring in sections to achieve the desired effect.
Once poured, gently use a heat gun or torch to remove any air bubbles that may have formed during mixing. Move the heat source evenly over the surface without lingering in one spot to avoid overheating the resin.
This step is crucial for achieving a smooth, glass-like finish in your epoxy resin wood art and ensuring the final piece showcases the beauty of both the wood and resin.
5) Allowing the Resin to Cure
After pouring the epoxy resin and removing bubbles, it’s vital to let the resin cure properly for optimal results. Place your project in a dust-free environment to prevent contaminants from settling on the surface.
Curing times can vary depending on the specific epoxy resin for wood art used, so refer to the manufacturer’s instructions—typically, it takes anywhere from 24 to 72 hours for complete curing. During this time, the resin will harden and develop a glossy finish.
Avoid touching or moving the piece during the curing process, as this can disrupt the smooth surface. Once fully cured, your wood resin art will be durable, stunning, and ready for display, showcasing your creativity and craftsmanship in an eye-catching manner.
What are Some Tips For Preserving Epoxy Wood Art?
To ensure your epoxy wood art maintains its beauty and integrity over time, consider these essential preservation tips:
- Avoid Direct Sunlight: Prolonged exposure to sunlight can cause the epoxy resin to yellow and fade. Display your artwork in a location that minimizes direct sunlight to maintain its vibrant colors and clarity.
- Use Coasters and Trivets: When using epoxy resin pieces as functional items, like serving trays or tabletops, always use coasters and trivets. This prevents heat damage or scratches that could compromise the resin’s finish.
- Regular Cleaning: Keep your epoxy wood art clean by gently wiping it with a soft, damp cloth. Avoid abrasive cleaners or scrubbers that can scratch the resin surface. For stubborn stains, use a mild soap solution.
- Temperature and Humidity Control: Maintain a stable environment by avoiding extreme temperature fluctuations and high humidity. These factors can affect the resin’s durability and appearance over time.
- Store Properly: If you need to store your wood resin art, keep it in a cool, dry place, laying it flat to avoid any pressure that could damage the surface.
Conclusion
Creating epoxy wood art is a rewarding and innovative process that beautifully combines the natural elegance of wood with the versatility of resin. By employing techniques for combining epoxy resin with wood art, such as pouring, layering, and embedding objects, artists can craft stunning pieces that elevate any space.
To preserve your wood resin art, it’s essential to follow key tips, such as avoiding direct sunlight, using coasters and trivets, and maintaining a regular cleaning routine.
By implementing these preservation strategies, your epoxy resin for wood art projects will retain its vibrancy and integrity, serving as a unique focal point in your home for years to come. Embrace your creativity and enjoy the lasting beauty of your epoxy wood design!
For the best epoxy products and expert advice, check out JBH Chemical Ventures today!