Looking for a unique way to add personality to your walls? Epoxy wall art DIY projects are a fantastic solution, offering endless possibilities for creating bold, custom pieces that make a statement.
With the home decor market continually evolving, DIY projects have seen significant growth, especially as more people look for affordable ways to personalize their spaces.
In fact, a recent survey found that 77% of homeowners prefer unique, handcrafted decor over mass-produced items. Using epoxy resin allows you to experiment with vibrant colors, marbling, and even metallic effects to make art that truly reflects your style.
Whether you’re a beginner or a seasoned crafter, easy DIY epoxy wall art ideas for your home can transform blank walls into eye-catching displays with minimal supplies and effort.
Ready to learn how to create stunning epoxy wall art at home? Read on for a step-by-step guide to DIY epoxy wall art and tips to help you get started!
What is Epoxy Wall Art?
Epoxy wall art is a form of artwork that uses epoxy resin to create vibrant, glossy, and often multi-dimensional pieces for wall decor.
Unlike traditional painting or prints, epoxy resin offers a glass-like finish and depth, making colors appear more vivid and adding a unique visual effect that’s difficult to achieve with other materials.
By combining pigments, dyes, and even metallic powders, artists can create marbling, ocean-inspired scenes, abstract designs, and other captivating effects.
This medium is popular for DIY wall resin art projects, allowing both beginner and experienced artists to create custom art that fits their style and space.
Epoxy wall art DIY projects are especially appealing because they provide flexibility for personalization—artists can add embedded objects, layer colors, or experiment with textures for endless creative possibilities.
Epoxy wall art is ideal for modern and contemporary home decor. It transforms blank walls into personalized displays that catch the eye and add sophistication to any room.
What are Some Epoxy Wall Art Ideas?
Epoxy wall art DIY offers endless creative possibilities for transforming plain walls into artistic focal points. Popular ideas include marbled effects, ocean-inspired designs, and abstract patterns.
These easy DIY epoxy wall art ideas for your home let you add vibrant, custom artwork that reflects your personal style.
1) Marbled Epoxy Art
Marbled epoxy art is a popular choice for DIY wall resin art because it mimics the luxurious look of real marble while offering endless color options.
By mixing and swirling different pigments in epoxy resin, you can achieve stunning marbled effects that bring elegance to any wall.
Metallic pigments or mica powders add a shimmering effect, creating a lifelike stone appearance. This technique allows you to create wall resin projects that perfectly match your decor, from bold black-and-white contrasts to subtle, pastel hues.
Marbled epoxy art combines sophistication with modernity, making it a versatile choice for living rooms, bedrooms, and offices. It adds a stylish, upscale vibe to any space.
2) Geode Inspired Wall Art
Geode-inspired epoxy art brings the beauty of natural gemstones to your walls, making for a striking and sophisticated epoxy wall art DIY project.
By layering epoxy resin in jewel tones like amethyst, sapphire, or emerald, and adding elements such as glitter, metallic pigments, or crushed glass, you can recreate the crystalline look of geodes.
This style is visually captivating and adds a unique texture and depth to your decor. Geode-inspired wall resin projects are perfect for adding a touch of luxury to any room, creating a sense of elegance and intrigue that complements a wide range of interior styles.
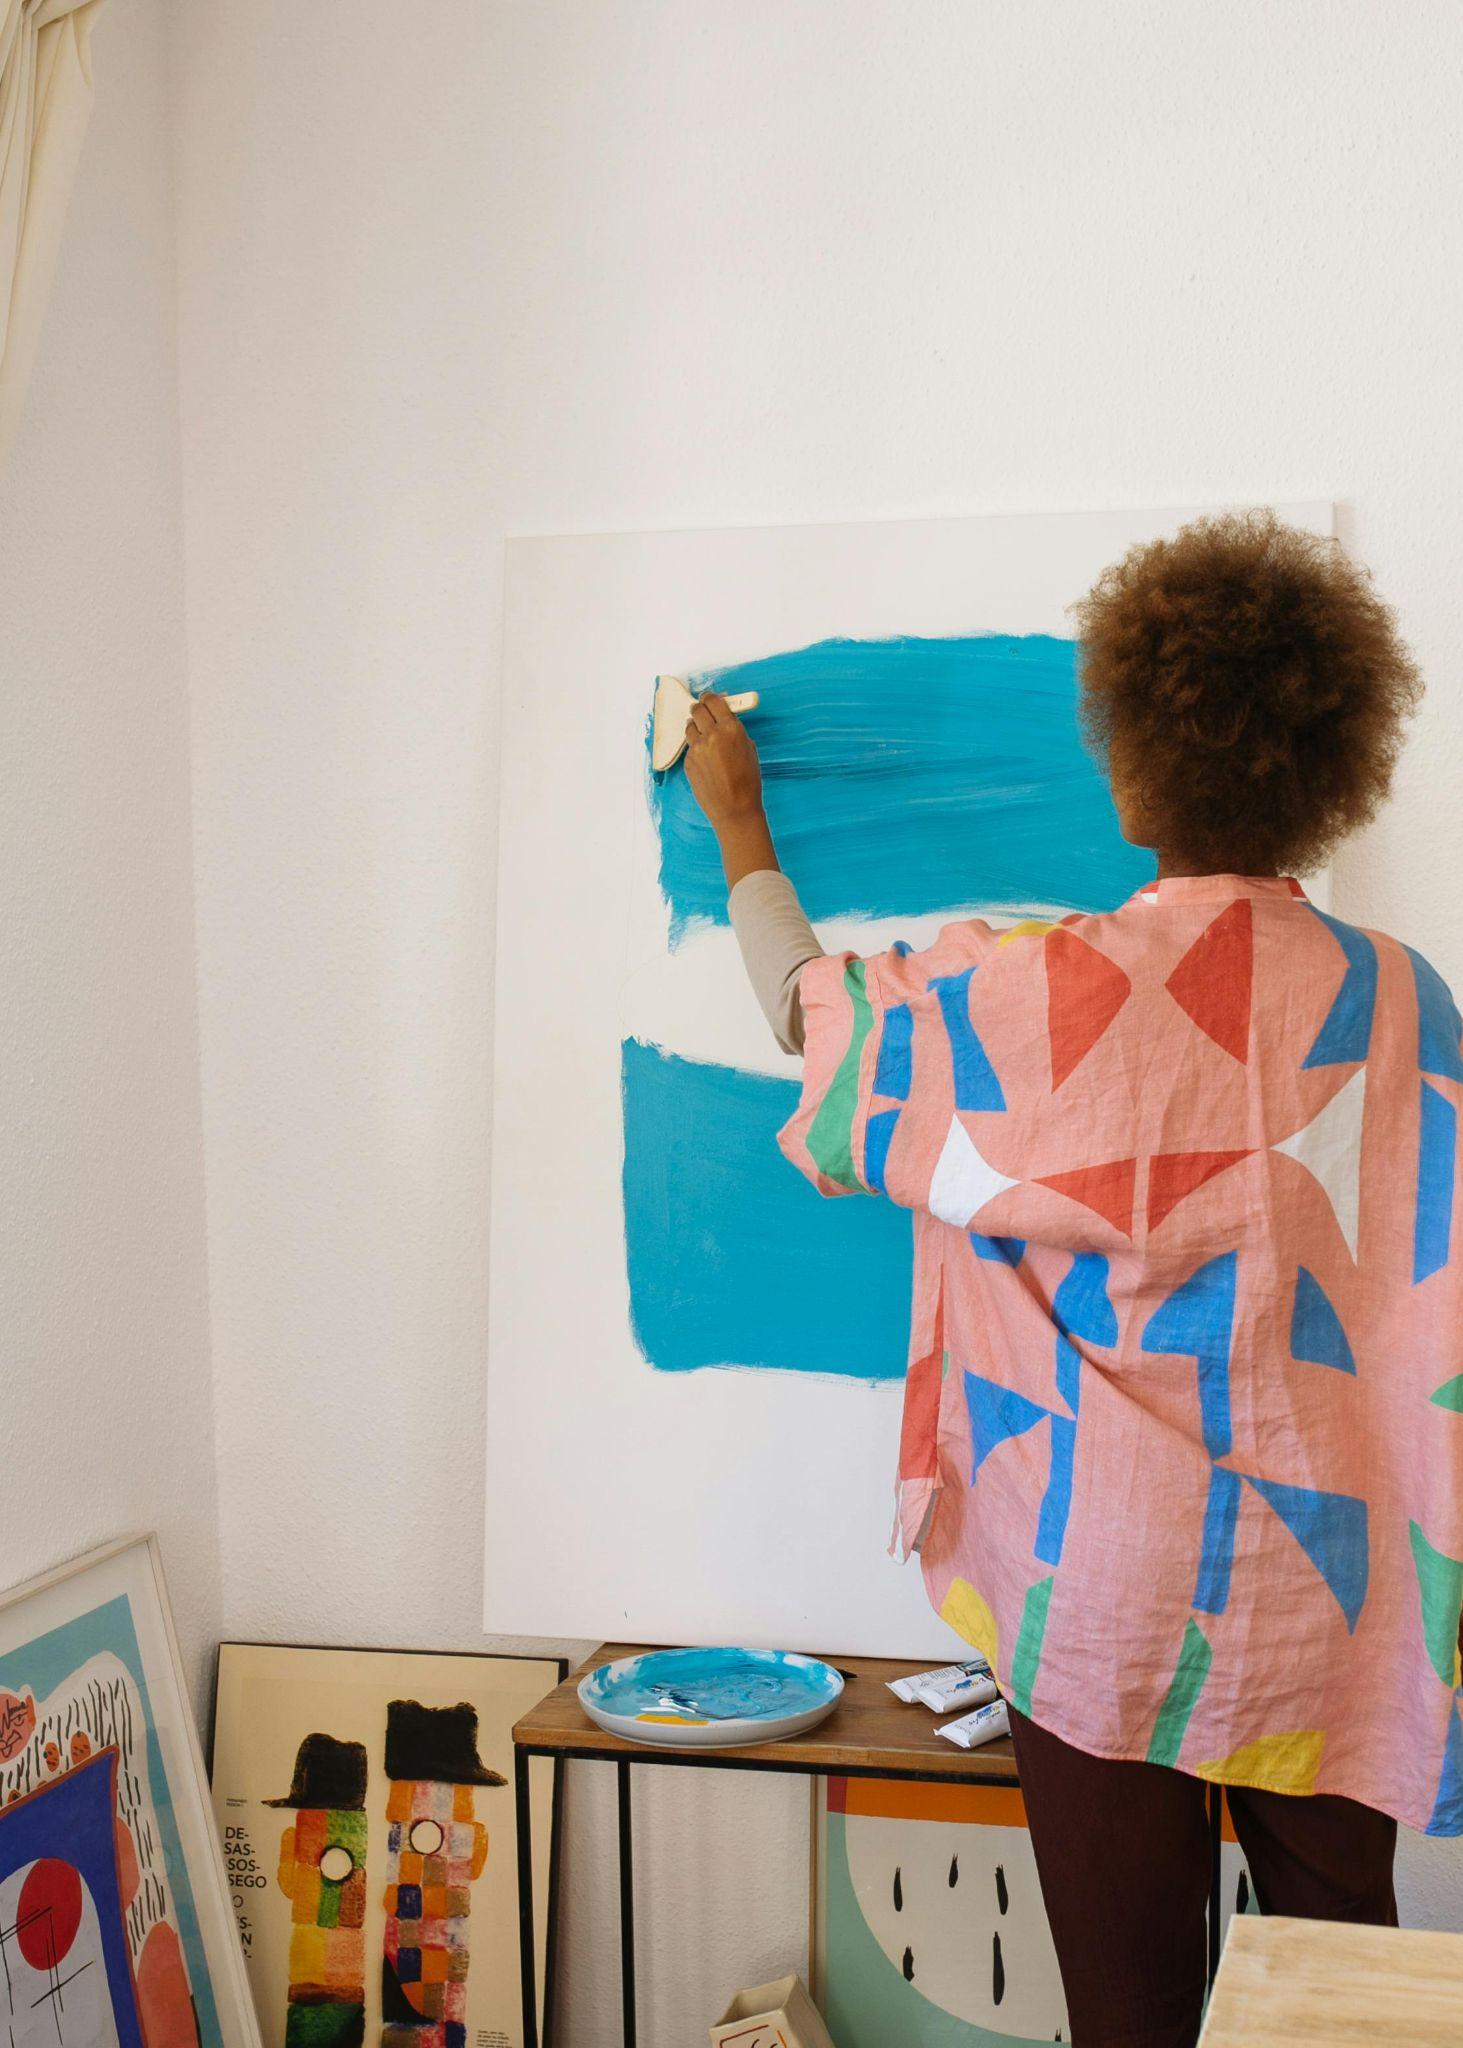
3) Abstract Color Blocking
Abstract color blocking with epoxy resin is a modern approach that brings bold, defined color areas to your walls. This easy DIY epoxy wall art idea for your home involves creating sections of different colors, often in geometric shapes, on a canvas or panel.
Epoxy resin gives a glossy, vibrant finish that enhances each color’s intensity. Metallic or contrasting hues add dimension, while the resin’s smooth texture gives it a polished, high-end look.
Abstract color-blocked DIY wall resin art makes a statement in any room. It offers a contemporary touch and can be customized to suit various decor themes.
What are Some Unique Epoxy Wall Art Techniques to Explore?
Exploring unique techniques in epoxy wall art DIY projects can elevate your creations and add unexpected textures and effects.
Popular methods include using alcohol inks, layering pigments, and embedding items for depth, all of which bring DIY wall resin art projects to life in creative, eye-catching ways.
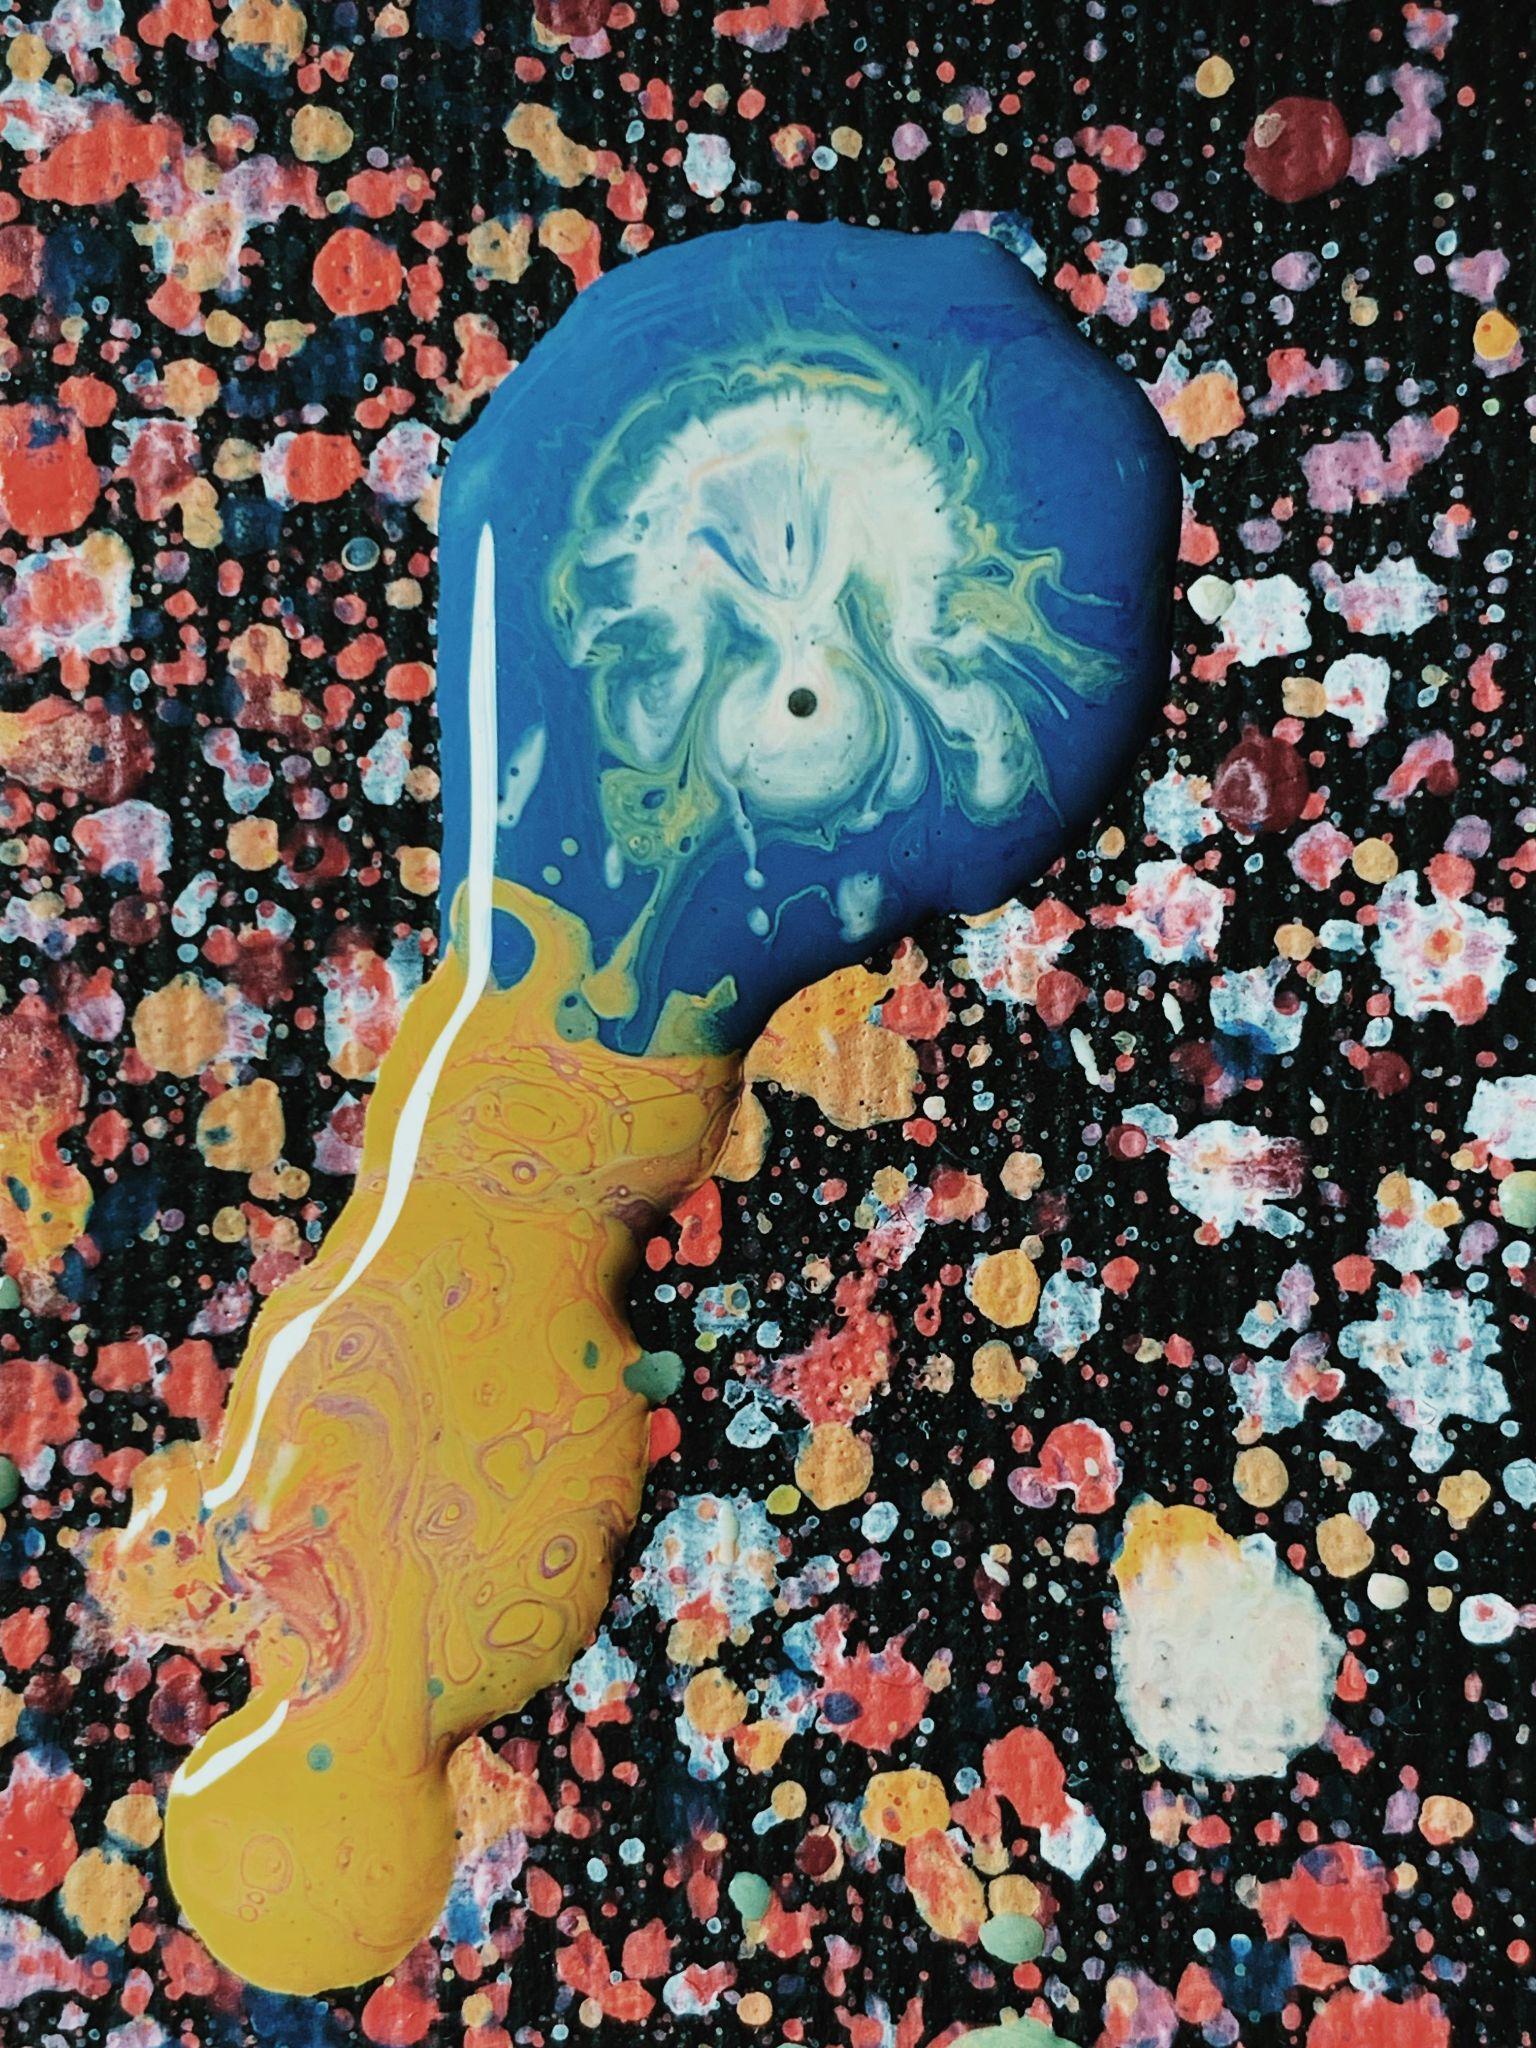
1) Ink Drops and Alcohol Inks
One fascinating technique for epoxy wall art DIY is the use of alcohol inks, which create vibrant, flowing patterns within the resin. When dropped onto wet epoxy, alcohol inks disperse organically, forming unique color swirls, blooms, or even soft, watercolor-like effects.
This technique allows for incredible control over color intensity and movement, resulting in mesmerizing visuals.
Layering different inks or blending with clear resin can add depth and dimension, making each piece appear almost ethereal. Artists often use this method to achieve stunning abstract designs or colorful landscapes in wall resin projects.
Alcohol ink drops are perfect for anyone looking to explore color dynamics and fluid movement, as the final appearance is always one-of-a-kind.
This technique gives DIY wall resin art projects an intricate, captivating look that’s both modern and expressive, ideal for enhancing any space with a splash of bold color and motion.
2) Layering and 3D Effects
Layering is a powerful technique in epoxy wall art DIY projects, creating depth and giving artwork a three-dimensional effect. By applying multiple thin layers of resin—each with different colors, textures, or embedded objects—you can make certain elements appear as if they’re floating within the artwork.
For example, in ocean scenes, darker layers are poured first to represent depth, followed by lighter, detailed layers for waves and foam.
Metallic powders or pigments can be added between layers to highlight specific areas and add a shimmering effect. This method is ideal for creating 3D epoxy wall art that appears dynamic and lifelike, making your artwork more visually engaging.
Layering allows for endless creative possibilities, whether you’re building an abstract scene, a landscape, or a unique texture.
These effects transform DIY wall resin art projects into immersive pieces that capture attention and add a sophisticated, multi-dimensional touch to any space.
3) Texture and Metallic Finishes
Adding texture and metallic finishes to epoxy wall art introduces an upscale, tactile quality that enhances the artwork’s visual impact. To create texture, materials like sand, crushed glass, or even fabric can be embedded within the resin, resulting in a layered surface with a unique feel.
Metallic pigments, mica powders, or gold and silver leaf add a reflective quality that catches light and gives the art a luxurious finish.
These metallic touches are often used in DIY wall resin art to add highlights and emphasize certain areas, whether it’s an abstract piece or a geode-inspired design.
When light hits the metallic elements, it creates a captivating sparkle, making your artwork stand out as a focal point.
Texture and metallic finishes are perfect for creating eye-catching wall resin projects that bring depth and a rich, polished look, adding elegance and a modern touch to any room in your home.
Step-by-Step Guide to Making Epoxy Wall Art
Creating epoxy wall art DIY involves preparing your materials, layering resin with pigments, and using techniques to add depth and dimension.
This guide will cover each essential step, from gathering supplies to finishing touches, ensuring your DIY wall resin art project is both successful and visually stunning.
1) Gathering the Materials
To begin your epoxy wall art DIY project, gather essential supplies for a smooth workflow. You’ll need clear epoxy resin, color pigments or alcohol inks, and a mixing container with stir sticks.
A heat gun or torch is crucial for removing air bubbles, while protective gear (gloves, mask, and eye protection) keeps you safe from fumes.
For added effects, consider metallic powders, crushed glass, or even small embellishments like shells for texture. A flat canvas or wood panel serves as the base for your DIY wall resin art. By having everything ready, you’ll be able to focus on creativity without interruptions, laying the groundwork for stunning results.
2) Prepare Your Base
Preparing your base is a crucial step in creating high-quality epoxy wall art DIY. Begin by selecting a flat surface like a canvas, wood panel, or MDF board, which provides durability and stability for your artwork. Ensure the base is dust-free, as dust or debris can get trapped in the resin.
To prevent resin drips, tape the edges of your base and cover your workspace with a drop cloth or protective mat.
For added effects, you can prime the surface with a layer of paint that complements your DIY wall resin art design. Proper preparation creates a clean foundation for adding epoxy and pigments.
3) Measure, Mix and Pour Epoxy
To begin the resin process, measure equal parts of resin and hardener according to the manufacturer’s instructions. Carefully mix them in a container, stirring slowly for a few minutes to avoid air bubbles.
Next, divide the resin into smaller cups if using multiple colors and add pigments or dyes for your desired effect. Once mixed, pour the epoxy over your prepared base, either as a single layer for a sleek look or in smaller sections for more intricate designs.
This step is essential for achieving vibrant epoxy wall art DIY results and setting the stage for layered effects or added textures.
4) Remove Air Bubbles and Let it Cure
After pouring, use a heat gun or torch to remove air bubbles from the epoxy surface, ensuring a smooth, glass-like finish. Carefully pass the heat tool over the resin’s surface without holding it in one spot too long, as excessive heat can warp or discolor the epoxy.
Once the air bubbles are removed, let your DIY wall resin art cure undisturbed in a dust-free area.
Follow the recommended curing time—usually 24 to 48 hours—depending on your epoxy resin type. Proper curing is crucial for achieving a durable, polished finish, allowing your epoxy wall art to showcase vibrant colors and textures.
Can You Use Epoxy On Walls?
Yes, epoxy can be used on walls to create a durable, high-gloss finish that’s both functional and decorative. Epoxy wall art DIY is a popular trend for adding artistic elements to walls, as it allows for vibrant colors, depth, and unique textures that standard paint can’t achieve.
Epoxy’s durability makes it ideal for high-traffic or moisture-prone areas, as it resists scratches, stains, and moisture.
In addition to artistic applications, clear epoxy is often used to seal and protect painted walls, giving them a sleek, glass-like finish that enhances color and design.
For decorative purposes, DIY wall resin art is versatile enough to create custom patterns, abstract designs, or even scenes like oceans or geodes. However, working with epoxy on vertical surfaces requires careful application and patience, as it can drip or run.
With proper technique, epoxy can add an elegant, modern touch to any wall, turning it into a stunning, durable work of art.
The Takeaway
Diving into epoxy wall art DIY projects is a fantastic way to bring vibrant, custom artwork into your home. From easy DIY epoxy wall art ideas like marbled effects and geode-inspired designs to more intricate DIY wall resin art projects, this medium offers endless ways to personalize your walls.
Even beginners can achieve stunning results by following a step-by-step guide to DIY epoxy wall art. The glossy, durable finish of epoxy resin not only brings out colors and depth but also protects your artwork for years to come.
For anyone interested in wall resin projects, epoxy offers a creative and lasting way to elevate any room’s decor with custom, eye-catching art.
Get started with premium epoxy supplies and guidance from JBH Chemical Ventures to bring your vision to life!