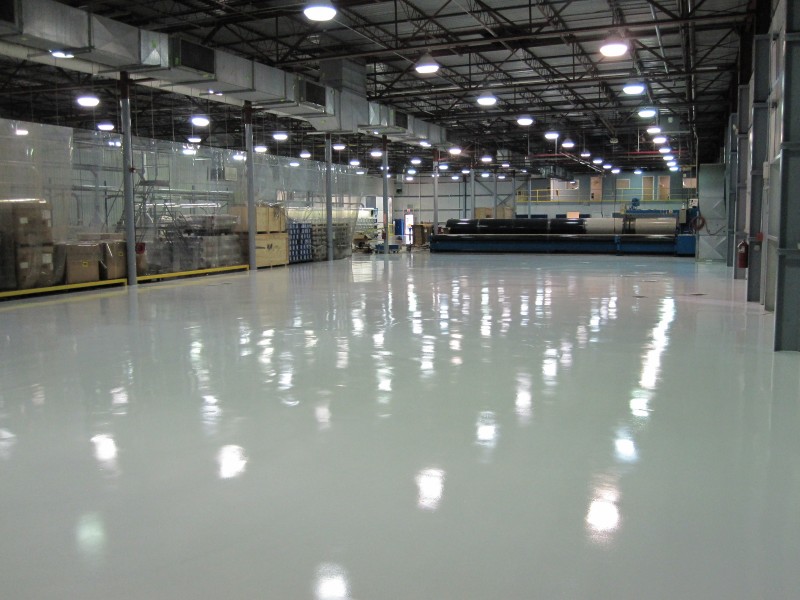
Epoxy resin for concrete floors is a popular choice for homeowners and professionals alike due to its durability, sleek finish, and ease of application. Whether you’re looking to protect your concrete from stains, and cracks, or simply improve the overall look, an epoxy coating for concrete floors offers a long-lasting solution.
Many DIY enthusiasts choose concrete epoxy floor kits for their affordable concrete floor epoxy solutions and straightforward installation process. With a wide variety of options, selecting the best epoxy resin for concrete floor coating can transform your concrete into a more functional and visually appealing space. Without further ado, let us get right into discussing how to apply epoxy resin to concrete floors!
Materials Needed to Apply Epoxy Resin For Concrete Floors:
Before we discuss the steps required to apply epoxy resin to your concrete floors, we must discuss the resources and materials that we will need for the entire process. You should procure these materials beforehand to ensure that the process can run as smoothly as possible. Here is what you need to apply epoxy resin to concrete floors:
#1 Epoxy Concrete Floor Kit:
These kits typically include epoxy resin and a hardener that, when mixed, create a strong, durable coating. Some kits may also come with color pigments or decorative chips to add texture or color to your concrete floor, offering a customized finish
#2 Concrete Cleaner/Degreaser:
Before applying epoxy, the concrete must be free of oil, grease, and other contaminants. A specialized cleaner or degreaser ensures that the surface is clean, which is critical for proper adhesion. Without it, the epoxy may not bond well, leading to peeling or bubbling.
#3 Mixing Buckets and Stir Sticks:
Thorough mixing of the epoxy resin and hardener is critical to the curing process. Using clean mixing buckets and stir sticks ensures the two components are evenly blended, activating the chemical reaction that hardens the epoxy.
#4 Paint Trays, Paint Rollers, and Roller Covers:
Paint trays are necessary to hold the mixed epoxy resin and hardener. They make it easy for you to access the mixture while applying it. You’ll need rollers designed to apply thick coatings like epoxy. High-quality roller covers ensure an even application and help spread the epoxy smoothly across the concrete floor, preventing streaks or uneven layers.
#5 Painter’s Tape:
Painter’s tape is used to mask off areas like walls, thresholds, or baseboards that you don’t want to coat with epoxy. This ensures a clean, professional-looking edge and prevents accidental spills.
#6 Protective Gear:
Epoxy and its fumes can be hazardous, so it’s important to wear gloves, goggles, and a respirator mask during application. Gloves protect your skin from chemical exposure, while goggles shield your eyes. A respirator mask is essential to avoid inhaling potentially harmful fumes during mixing and application.
How to Apply Epoxy Resin for Concrete Floors:
Now that we have talked about the materials needed for the process, it is time to discuss the process itself. Here are the steps to apply epoxy resin for concrete floors. Follow this guide thoroughly and we can assure you that you will be astonished by the final results. Let’s dive right into it:
#1 Remove Everything From the Concrete Floors:
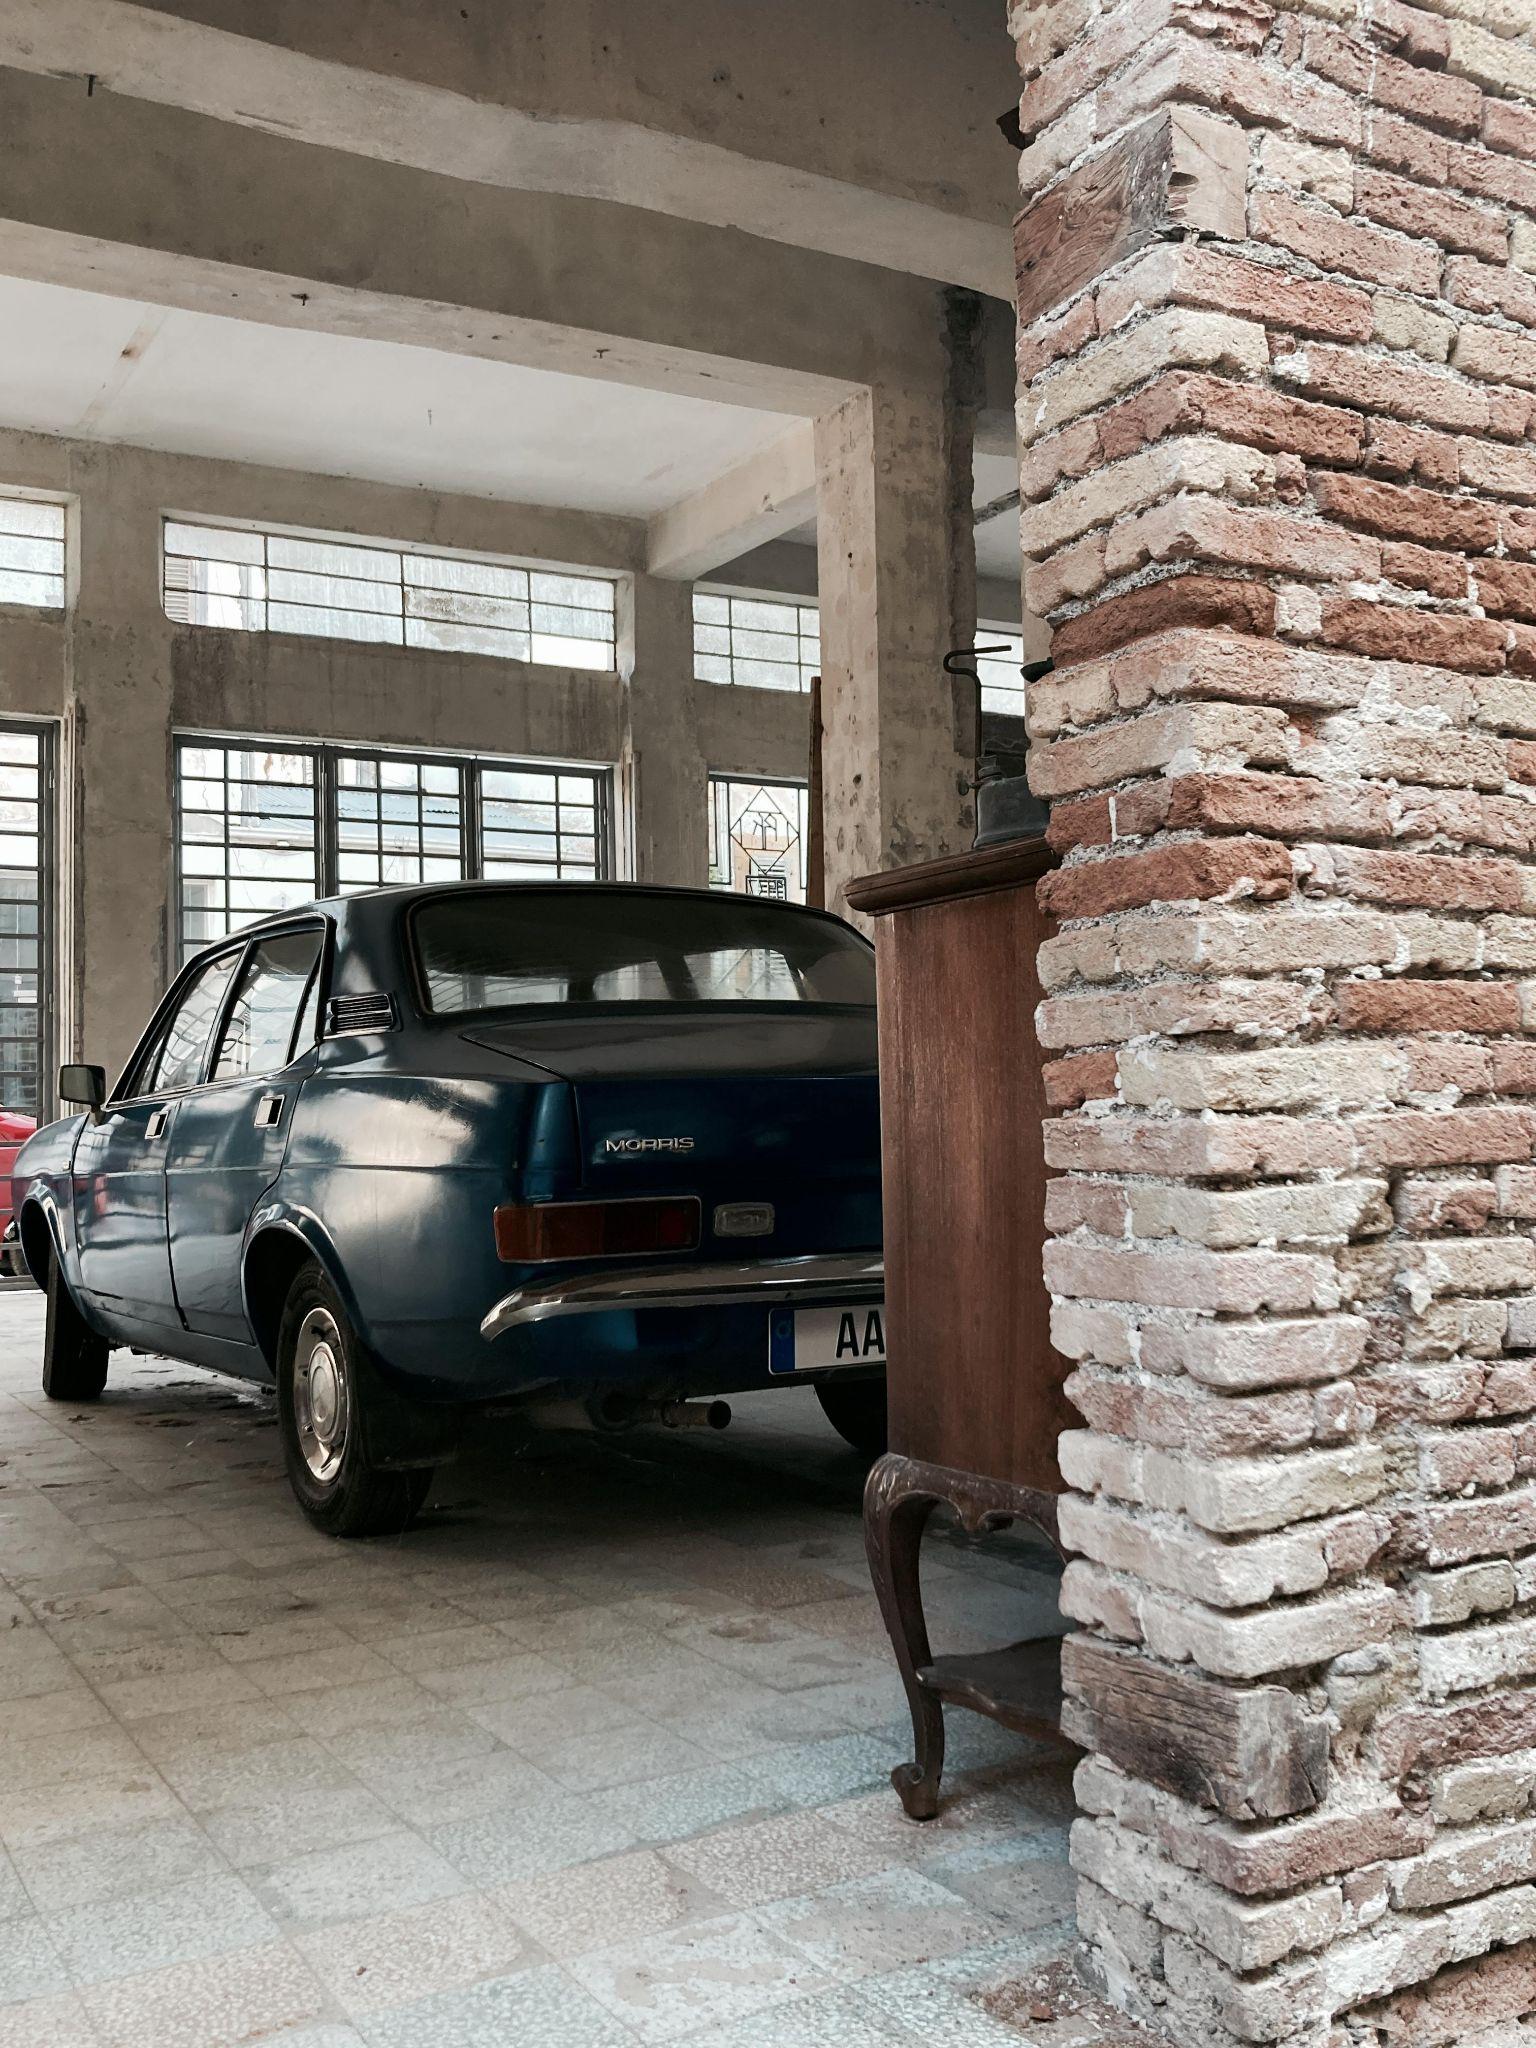
Before applying epoxy resin to concrete floors, it’s essential to start with a completely clear surface. Remove all items from the concrete, including vehicles, tools, storage racks, and any other objects.
This ensures that every part of the floor can be properly cleaned, prepared, and coated without obstruction. Clearing the concrete floor also makes it easier to move around while applying the epoxy and ensures a smooth, seamless finish. Taking this first step is crucial for a professional-quality result.
#2 Sweep the concrete and Clean Stains:
After removing everything from the concrete, the next step is to thoroughly sweep the floor to eliminate dust, debris, and loose dirt. This ensures that the epoxy will adhere smoothly to the surface. Pay close attention to any oil, grease, or chemical stains, as these can prevent the epoxy coating for concrete floors from bonding properly.
Use a degreaser or a heavy-duty cleaner to remove stubborn stains, and scrub the surface if necessary. Proper cleaning is essential to avoid bubbles or uneven areas in the final coating, ensuring a durable, long-lasting finish.
#3 Power Wash Your Concrete Floors:
Once you’ve swept and cleaned the visible stains, it’s important to take the next step by power washing your concrete floors. Using a power washer will help to remove any deep-seated dirt, grime, or residues that could hinder the adhesion of the epoxy resin for concrete floors. This process ensures that even the smallest particles and contaminants are flushed out from the pores of the concrete surface.
Power washing is particularly effective for large areas and provides a more thorough cleaning than sweeping or scrubbing alone. After washing, allow the floor to dry completely to avoid trapping moisture under the epoxy coating. This step is critical for achieving a smooth and durable epoxy finish.
#4 Squeegee and Let Your Concrete Floors Dry:
After power washing, use a squeegee to remove excess water from your concrete floor. This step ensures that no puddles or standing water remain, which can interfere with the epoxy resin for the concrete floor bonding process.
Once the floor is squeegeed, allow it to dry completely. Any trapped moisture can prevent the epoxy from adhering properly, leading to bubbles or peeling in the future. Depending on the climate and airflow, drying may take several hours to a day. Ensuring a fully dry surface is essential for a smooth, long-lasting epoxy coating.
#5 Mixing the Epoxy Kits:
The next step is to mix the epoxy resin and hardener and it is a critical step because it allows the proper chemical reaction to occur for a durable concrete floor coating. Begin by following the manufacturer’s instructions, which specify the exact ratio of resin to hardener.
Use a clean mixing bucket and stir the components thoroughly with a stir stick for several minutes, ensuring a uniform mixture. It’s essential to mix slowly to avoid introducing air bubbles that could affect the finish. Once mixed, the epoxy has a limited working time, known as “pot life,” so apply it quickly and efficiently.
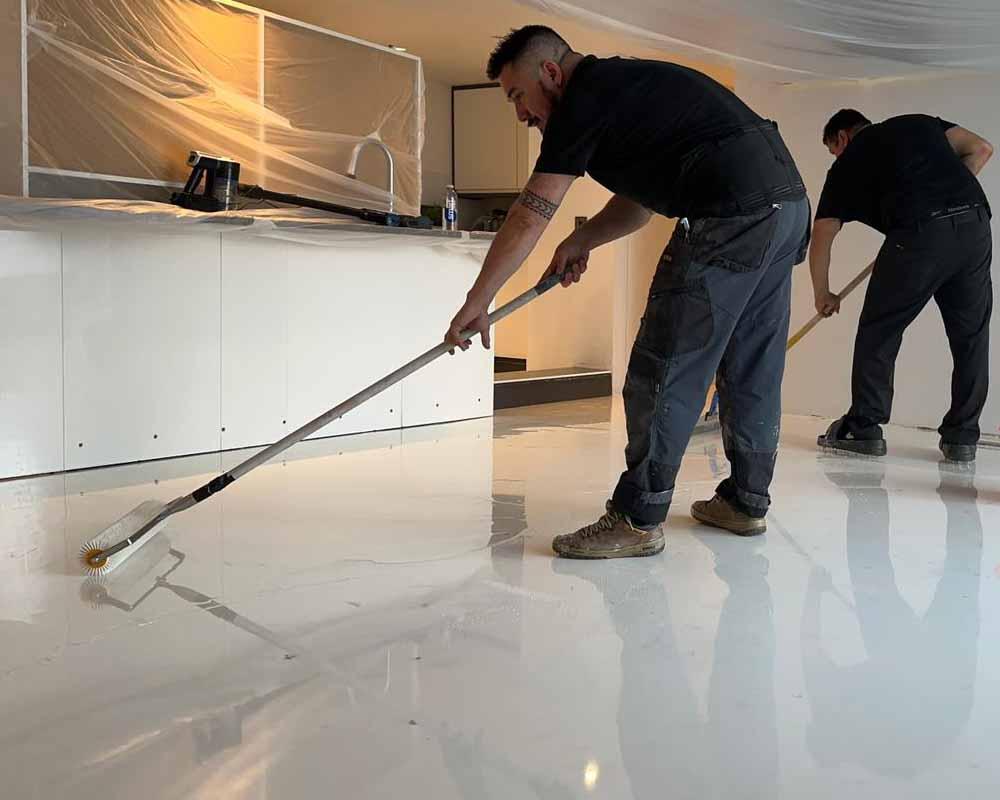
#6 Applying First Coat of Epoxy:
Once the epoxy is mixed, start applying the first coat using a paint roller designed for thick coatings. Begin in a corner of the concrete and work your way out, ensuring even coverage. Apply the epoxy in small sections using smooth, consistent strokes to avoid streaks or missed spots.
Be sure to cover the entire surface, paying extra attention to edges and corners. Once the first coat is applied, allow it to dry for a minimum of 24 hours. This curing time ensures the epoxy bonds properly to the floor, setting the foundation for the second coat.
#7 Applying the Second Coat of Epoxy:
Once the first coat has fully cured, it’s time to apply the second coat to enhance both the durability and appearance of the concrete floor. Start by mixing a fresh batch of epoxy resin and hardener, following the same careful ratio and mixing process as before. Using a high-quality paint roller, evenly apply the second coat across the entire floor.
This layer ensures an even, consistent finish, while also adding extra protection against wear and tear. Be sure to smooth out any bubbles or uneven patches as you work. After applying the second coat, let the epoxy dry for at least 48 hours, ensuring a thorough cure before exposing the floor to any foot traffic or heavy loads. This extended drying period guarantees the epoxy sets properly, providing a strong, glossy, and durable finish for your concrete floor.
#8 Using Decorative Flakes:
To add texture and aesthetic appeal to your epoxy concrete floor, consider applying decorative flakes while the second coat of epoxy is still wet. These flakes not only enhance the appearance by adding color and contrast but also provide a subtle anti-slip texture.
Once you’ve evenly rolled out the second coat, immediately sprinkle the flakes over the surface by hand, dispersing them as uniformly as possible. You can choose how heavy or light you want the flake coverage to be, depending on your desired look. Allow the flakes to settle into the epoxy as it cures, creating a professional, visually striking finish.
What Are The Benefits of Epoxy Concrete Floors?
Epoxy concrete floors offer numerous benefits, including enhanced durability, resistance to chemicals, oil, and stains, and a smooth, attractive finish. Let us explore some of the most interesting benefits of applying epoxy resin to concrete floors:
#1 Aesthetically Pleasing Concrete Floor:
One of the major advantages of using epoxy resin for concrete floors is the transformative aesthetic appeal it brings. Epoxy is a thermosetting polymer, which results from a chemical reaction between the epoxy resin and a hardener.
This chemical process, known as polymerization, creates a cross-linked structure that not only gives epoxy its strength but also its smooth, glossy finish. Available in a variety of colors and finishes, epoxy allows homeowners to customize the look of their concrete, offering everything from high-gloss, reflective surfaces to more subtle, matte textures.
#2 Resistant Against Stains:
One of the standout qualities of using epoxy coating for concrete floors is its excellent resistance to stains. The chemical composition of epoxy resin, resulting from the polymerization process between the resin and hardener, creates a non-porous, impermeable surface.
This makes it highly effective at repelling oil, grease, chemicals, and other substances commonly found in concretes. Unlike bare concrete, which can absorb liquids and lead to unsightly stains or damage over time, epoxy forms a protective barrier that prevents absorption.
#3 Increases the Durability:
One of the key benefits of applying epoxy resin to concrete floors is the substantial increase in durability due to the material’s unique chemical structure. Epoxy resin, upon mixing with a hardener, undergoes a thermosetting polymerization reaction that forms a highly cross-linked, three-dimensional network.
This cross-linked structure imparts exceptional mechanical strength and rigidity to the surface, making it resistant to high-impact forces, abrasions, and compressive loads.
Unlike concrete, which is more porous and prone to cracking under stress, epoxy creates a chemically bonded layer that enhances the concrete floor’s resistance to physical damage. This layer also exhibits excellent tensile strength and is capable of withstanding the dynamic loads of vehicles and heavy machinery.
The molecular structure of epoxy makes it resistant to temperature extremes, reducing the risk of thermal expansion and contraction, which can degrade uncoated surfaces. Overall, selecting the best epoxy resin for concrete floor durability provides a scientifically robust and long-lasting solution to protect your concrete floor from wear and tear.
#4 Cost-effective for Concrete Floors:
Epoxy resin offers a cost-effective solution for concrete floors, combining durability and affordability. While initial installation costs for an epoxy coating for concrete floors may be higher than simple concrete finishes or paint, the long-term benefits make it highly economical. The cross-linked polymer structure of epoxy creates a surface that lasts for years without the need for frequent repairs or replacement, reducing long-term maintenance costs.
Additionally, concrete epoxy floor kits are widely available for DIY enthusiasts, offering an affordable option for homeowners to install themselves. The self-leveling properties of epoxy make it easy to apply, eliminating the need for expensive professional installation in many cases.
Furthermore, by selecting an affordable concrete floor epoxy solution, homeowners can avoid expenses related to floor damage, such as cracking or staining, that would otherwise require costly repairs or replacements. In the long run, epoxy proves to be a budget-friendly choice for concrete floor protection.
Conclusion:
Applying epoxy resin to concrete floors is an excellent way to enhance the durability, aesthetics, and functionality of your concrete. By following proper preparation steps, using high-quality concrete epoxy floor kits, and applying the epoxy with the right techniques, you can achieve a smooth, professional finish that resists stains, wear, and chemical damage.
Whether you’re looking for affordable concrete floor epoxy solutions or simply want to improve your space, choosing the best epoxy resin for concrete floor coating ensures a long-lasting, visually appealing surface. With proper care and attention, your epoxy coating for concrete surfaces will stand the test of time, giving you a durable and attractive concrete floor.