Are you eager to dive into the world of casting resin epoxy art but unsure where to start? Whether you’re looking to create beautiful home decor or unique gifts, working with resin can be overwhelming for beginners.
With a significant rise in interest, searches for resin art tutorials have increased by 40% over the last year, indicating that many seek guidance in this creative medium.
Understanding the differences between standard epoxy resin and casting resin and knowing which materials and techniques to use is crucial for achieving stunning results.
This guide will provide a comprehensive casting resin epoxy art tutorial and recommendations for the best casting resin epoxy art kits tailored for beginners.
You’ll learn essential tips and step-by-step instructions to help you feel confident and inspired as you embark on your artistic journey.
Ready to unleash your creativity and explore the captivating world of casting resin epoxy art? Read on for everything you need to get started!
What Is Resin Casting?
Resin casting is a versatile art form that involves pouring liquid resin into a mold to create solid, durable objects or artworks. This technique allows artists and crafters to shape casting resin for resin art into various forms, from functional items like coasters and jewelry to decorative pieces such as sculptures and wall art.
The resin used in casting is typically a combination of epoxy resin and casting resin. When mixed, the resin undergoes a chemical reaction that causes it to harden.
Depending on the type of resin and the thickness of the cast, this process can take anywhere from a few hours to several days.
Artists often incorporate pigments, dyes, and other materials into the resin to achieve vibrant colors and unique effects.
Casting resin epoxy art allows for embedding objects like flowers, beads, or even small figurines, enhancing the visual appeal of the final piece. This technique is popular among beginners and experienced artisans for its creative potential and stunning results.
What are Some Essential Materials for Casting Resin Art?
Having the right materials is essential to successfully creating casting resin epoxy art. Here’s a list of key items you’ll need:
- Casting Resin—Choose a high-quality epoxy resin specifically designed for casting. It cures clear and offers excellent durability.
- Molds – Silicone molds are ideal for resin casting since they are flexible and make it easy to remove finished pieces. You can find molds in various shapes and sizes.
- Mixing Cups and Sticks – Use graduated mixing cups to measure and mix the resin and hardener. Stirring sticks are essential for blending without introducing air bubbles.
- Pigments and Dyes – Add color to your resin casting with various pigments, dyes, or alcohol inks. Mica powders are also popular for achieving shimmering effects.
- Protective Gear—Safety goggles, gloves, and a mask are crucial for protecting against fumes and skin contact.
- Heat Gun or Torch – These tools help eliminate air bubbles in the poured resin, ensuring a smooth, glossy finish.
With these essential materials, you’ll be well-equipped to start your casting resin epoxy art journey!
Step-by-Step Guide for Creating Casting Resin Epoxy Art
Creating casting resin epoxy art involves careful preparation and execution to achieve stunning results. Follow this guide to ensure your project goes smoothly from start to finish.
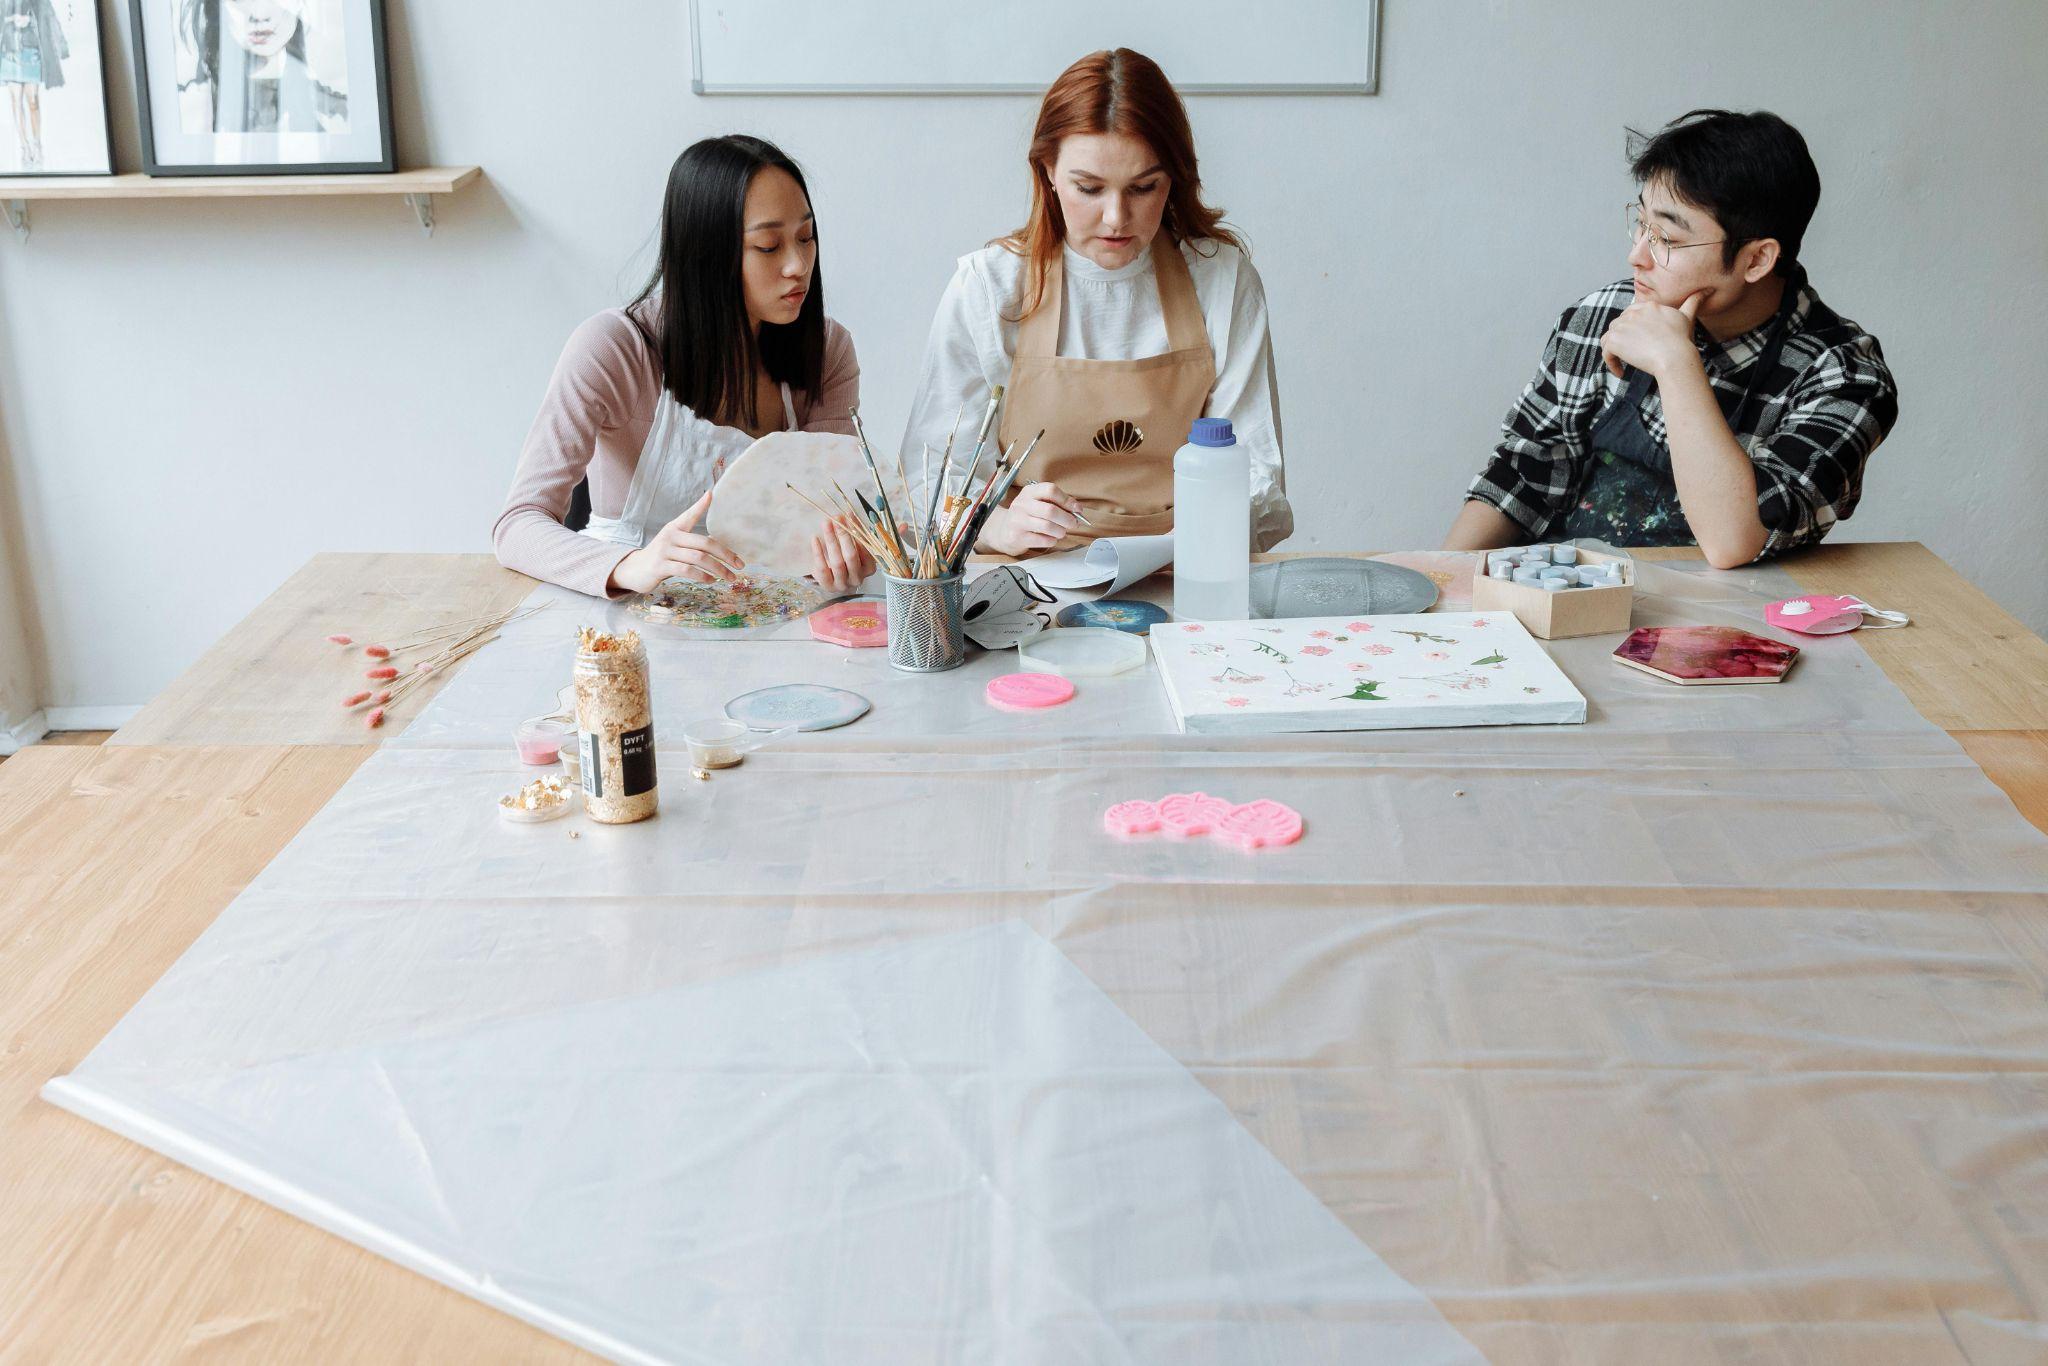
1) Prepare Your Workspace
Preparing your workspace is a crucial first step in any casting resin for a resin art project. Begin by selecting a clean, well-ventilated area with a flat, stable surface to work on. Cover the workspace with a drop cloth or plastic sheeting to protect it from resin spills, as epoxy can be difficult to remove.
Gather all your essential materials—casting resin, molds, mixing cups, pigments, and protective gear—before you start. Ensure that you have adequate lighting, as this helps you mix and pour accurately.
Keep any distractions to a minimum and have your safety equipment, such as gloves and goggles, readily accessible. A well-organized workspace sets the stage for a successful casting resin epoxy art tutorial and helps prevent mistakes during the creative process.
2) Select a Mold and Design
Choosing the right mold and design is essential for successful casting resin epoxy art. Select a silicone mold that suits your project, whether a simple geometric shape or an intricate design showcasing your creativity.
Consider the size and depth of the mold, as thicker pieces will cure relatively quickly. Before pouring, sketch your design to visualize how colors and elements interact. You can consider incorporating layers or embedding objects for added depth and interest.
Selecting the right mold shapes your artwork and influences the final aesthetic of your resin casting project.
3) Mix the Resin and Hardener
Once you have your mold and design ready, it’s time to mix the epoxy resin and hardener. Begin by carefully measuring the resin and hardener according to the manufacturer’s instructions, ensuring you use the correct ratio for optimal curing.
Pour both components into a mixing cup, then use a stirring stick to combine them thoroughly for at least 3-5 minutes.
Mix slowly to minimize air bubbles, which can mar the surface of your epoxy wood art. If you plan to add pigments or dyes, incorporate them into the mixture at this stage, stirring well to achieve an even color throughout.
Once thoroughly mixed, your resin is ready for pouring into the mold, marking the next step in your casting resin epoxy art tutorial.
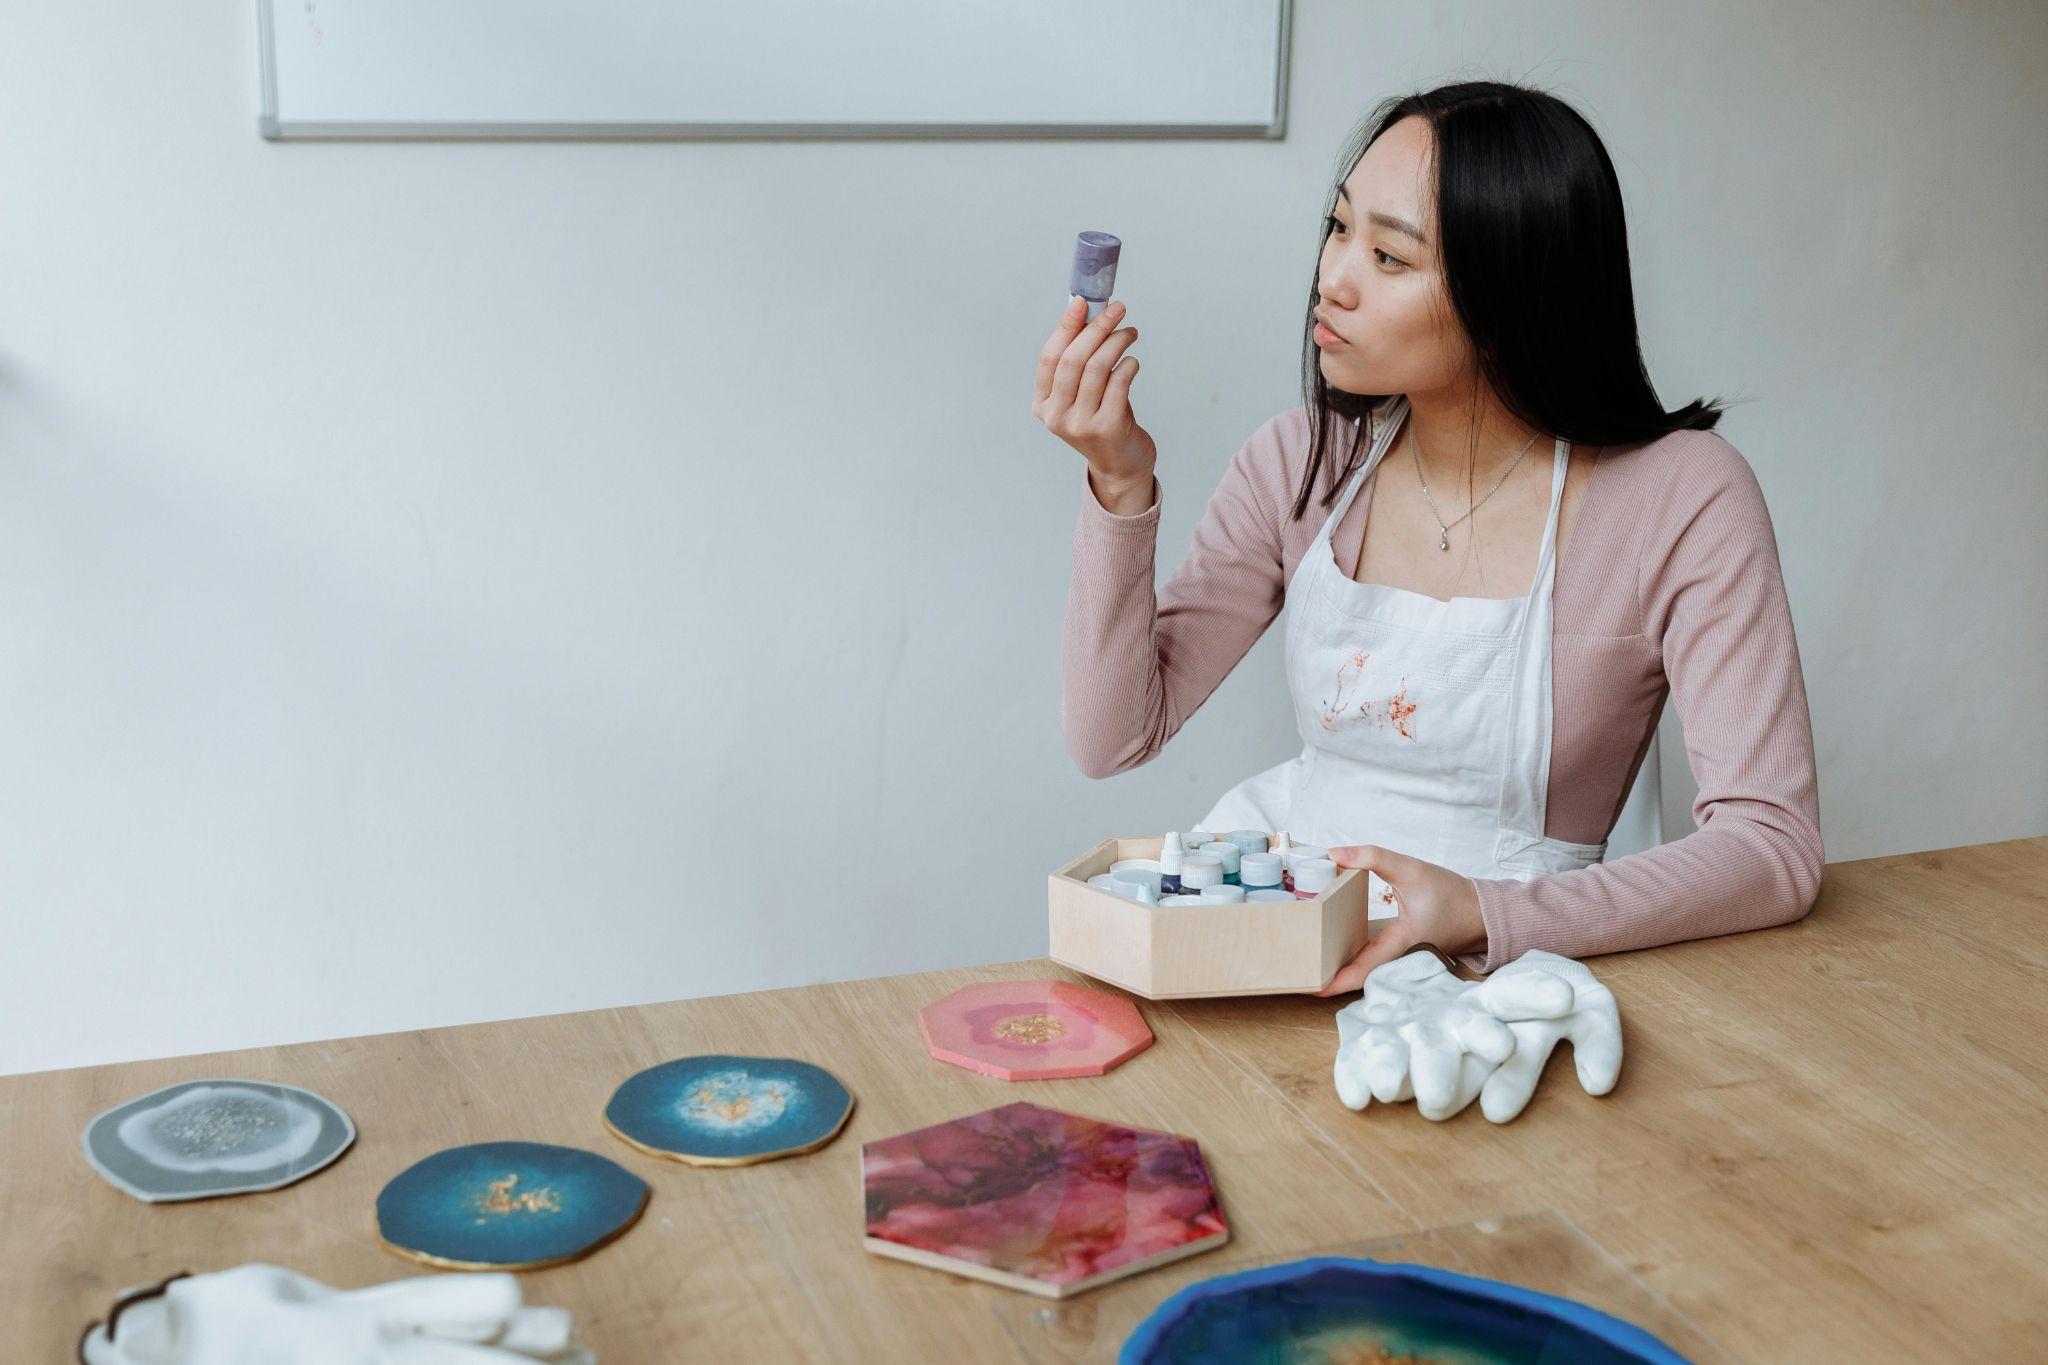
4) Add Pigments and Remove Bubbles
After thoroughly mixing the resin and hardener, it’s time to add pigments or dyes to achieve the desired color for your casting resin epoxy art.
Start by adding small amounts of colorant to the mixture, stirring gently until the color is evenly distributed.
Consider adding mica powders or metallic pigments for a shimmering effect. Once your resin is colored, it’s essential to eliminate any air bubbles that may have formed during mixing.
Use a heat gun or torch to carefully pass over the surface of the resin, which will help release trapped air bubbles and create a smooth, flawless finish.
5) Remove the Cured Resin For the Mold
Once your casting resin epoxy art has cured completely, it’s time to remove it from the mold. Depending on the resin used, curing times can vary from several hours to a few days, so ensure the resin is fully hardened.
Gently flex the silicone mold to release the cured piece, taking care not to apply excessive force that could cause damage. If your piece has intricate details or edges, a soft, non-abrasive tool can help ease it without scratching the surface.
After removal, inspect your artwork for any rough edges or imperfections; these can be smoothed out with fine sandpaper for a polished finish. Your geode resin art or other creations can be displayed or further enhanced!
What are Some Creative Resin Casting Art Ideas?
Creative resin-casting art ideas range from functional items to decorative pieces, offering endless possibilities for artistic expression.
Popular projects include jewelry, coasters, keychains, and home decor items like wall art and furniture accents. Each project allows for customization and personal flair, making resin art unique.

1) Jewelry and Accessories
Creating jewelry and accessories using casting resin for resin art is a popular and rewarding project that showcases your creativity. You can craft stunning pieces like earrings, necklaces, and bracelets by pouring colored resin into molds designed for jewelry.
Consider embedding small items like dried flowers, glitter, or charms to add a personal touch and enhance each piece’s visual appeal.
Resin’s versatility allows for unique designs, from elegant and minimalistic to bold and colorful. Once cured, these pieces can be sanded and polished for a professional finish.
Using high-quality materials, such as hypoallergenic earring hooks or chains, ensures that your epoxy resin wood art jewelry is not only beautiful but also durable and comfortable to wear.
This approach allows you to create custom accessories that reflect your personal style or make thoughtful gifts for friends and family.
2) Coasters and Trays
Creating coasters and trays with epoxy resin for wood art is an excellent way to combine functionality with artistic flair. You can design unique, colorful coasters by pouring tinted resin into silicone molds, allowing various patterns and color combinations. Consider embedding items like dried flowers, leaves, or even small gemstones within the resin for added interest.
Trays can be made similarly, using larger molds to craft stunning serving pieces that showcase intricate designs or color gradients.
Once cured, these coasters and trays serve practical purposes and act as beautiful decor elements that enhance your living space, making them ideal gifts or personal keepsakes.
3) Paperweights and Decorative Items
Resin casting allows for creating beautiful paperweights and decorative items that add personality to any workspace or home. By using clear or colored casting resin for resin art, you can embed small objects like seashells, pressed flowers, or decorative stones, creating one-of-a-kind pieces.
These decorative paperweights are functional and artistic, helping keep papers organized while serving as eye-catching conversation starters. Consider experimenting with different shapes, sizes, and colors to match your decor.
With endless possibilities for customization, each piece can reflect your personal style or the themes of your home, making them thoughtful gifts or cherished items.
4) Small Figurines and Sculptures
Creating small figurines and sculptures using casting resin epoxy art is an exciting way to explore three-dimensional design. You can use silicone molds to cast intricate shapes, from animals and mythical creatures to abstract forms, allowing creative expression.
After mixing your resin with pigments, pour it into molds and let it cure to achieve durable, vibrant figures. You can also experiment with combining different colors or layering resin for unique visual effects.
Once cured, these resin sculptures can be displayed as standalone art pieces, integrated into home decor, or used as charming gifts. Resin’s versatility allows artists to craft delightful, personalized creations that bring character to any space.
What are Some Tips For Getting Creative With Colors and Effects?
Getting creative with colors and effects is essential in casting resin epoxy art to enhance the visual appeal of your projects. Techniques like layering colors and incorporating metallics can help you achieve stunning, eye-catching results. Here are some tips to elevate your resin art.
1) Layering Colors
Layering colors is a powerful technique in epoxy resin for wood art that adds depth and dimension to your creations. Start by pouring a base resin layer in a darker shade, allowing it to cure partially before adding lighter colors.
This approach enhances the visual contrast and creates a more dynamic look. Use a stir stick or a heat gun to gently swirl colors together for a marbled effect, or keep the layers distinct for a striped appearance.
Experimenting with transparency can also yield interesting results—mixing less pigment in the upper layers allows underlying colors to shine through, creating a beautiful gradient effect in your casting resin epoxy art.
2) Using Metallics
Incorporating metallics into your casting resin for resin art projects can dramatically enhance the overall aesthetic and add a touch of elegance. Metallic powders, like gold, silver, or copper, can be mixed directly into the resin or sprinkled onto the surface before it cures.
This creates a shimmering effect that catches the light and adds depth to your artwork. Consider using metallics along the edges of your pieces to create striking contrasts against vibrant colors or embedding metallic items like beads for added dimension.
The interplay of light and color from metallic elements will elevate your epoxy wood design, making each piece uniquely eye-catching and sophisticated.
What Is Casting In Resin Art?
Casting in resin art involves pouring liquid resin into a mold to create solid, three-dimensional objects or artworks.
This technique is essential for casting resin epoxy art, allowing artists to shape and form epoxy resin into various designs, from functional items like coasters and trays to stunning decorative pieces such as sculptures and wall art.
The resin used in casting typically consists of epoxy casting resin mixed with a hardener to undergo a chemical reaction that cures and solidifies the mixture.
This method offers endless creative possibilities, enabling artists to incorporate pigments, textures, and even embedded materials, resulting in unique, durable pieces that showcase the versatility of resin casting.
By mastering the art of casting, beginners and experienced artisans alike can explore the captivating world of casting resin for resin art and create eye-catching pieces that elevate their home decor.
Conclusion
Casting resin epoxy art opens a world of creative possibilities, allowing artists to transform their ideas into stunning, three-dimensional pieces.
Whether you’re using casting resin for resin art to create functional items like coasters or decorative sculptures, the techniques and materials available provide endless opportunities for personalization.
Understanding the principles of epoxy resin and casting resin, as well as effective techniques for layering colors and using metallics, can elevate your artwork to new heights.
With patience and practice, anyone can master casting resin epoxy art and enjoy the rewarding experience of crafting unique, beautiful pieces that enhance any space.
Ready to take your art to the next level? Get your high-quality epoxy supplies from JBH Chemical Ventures and start creating today!